
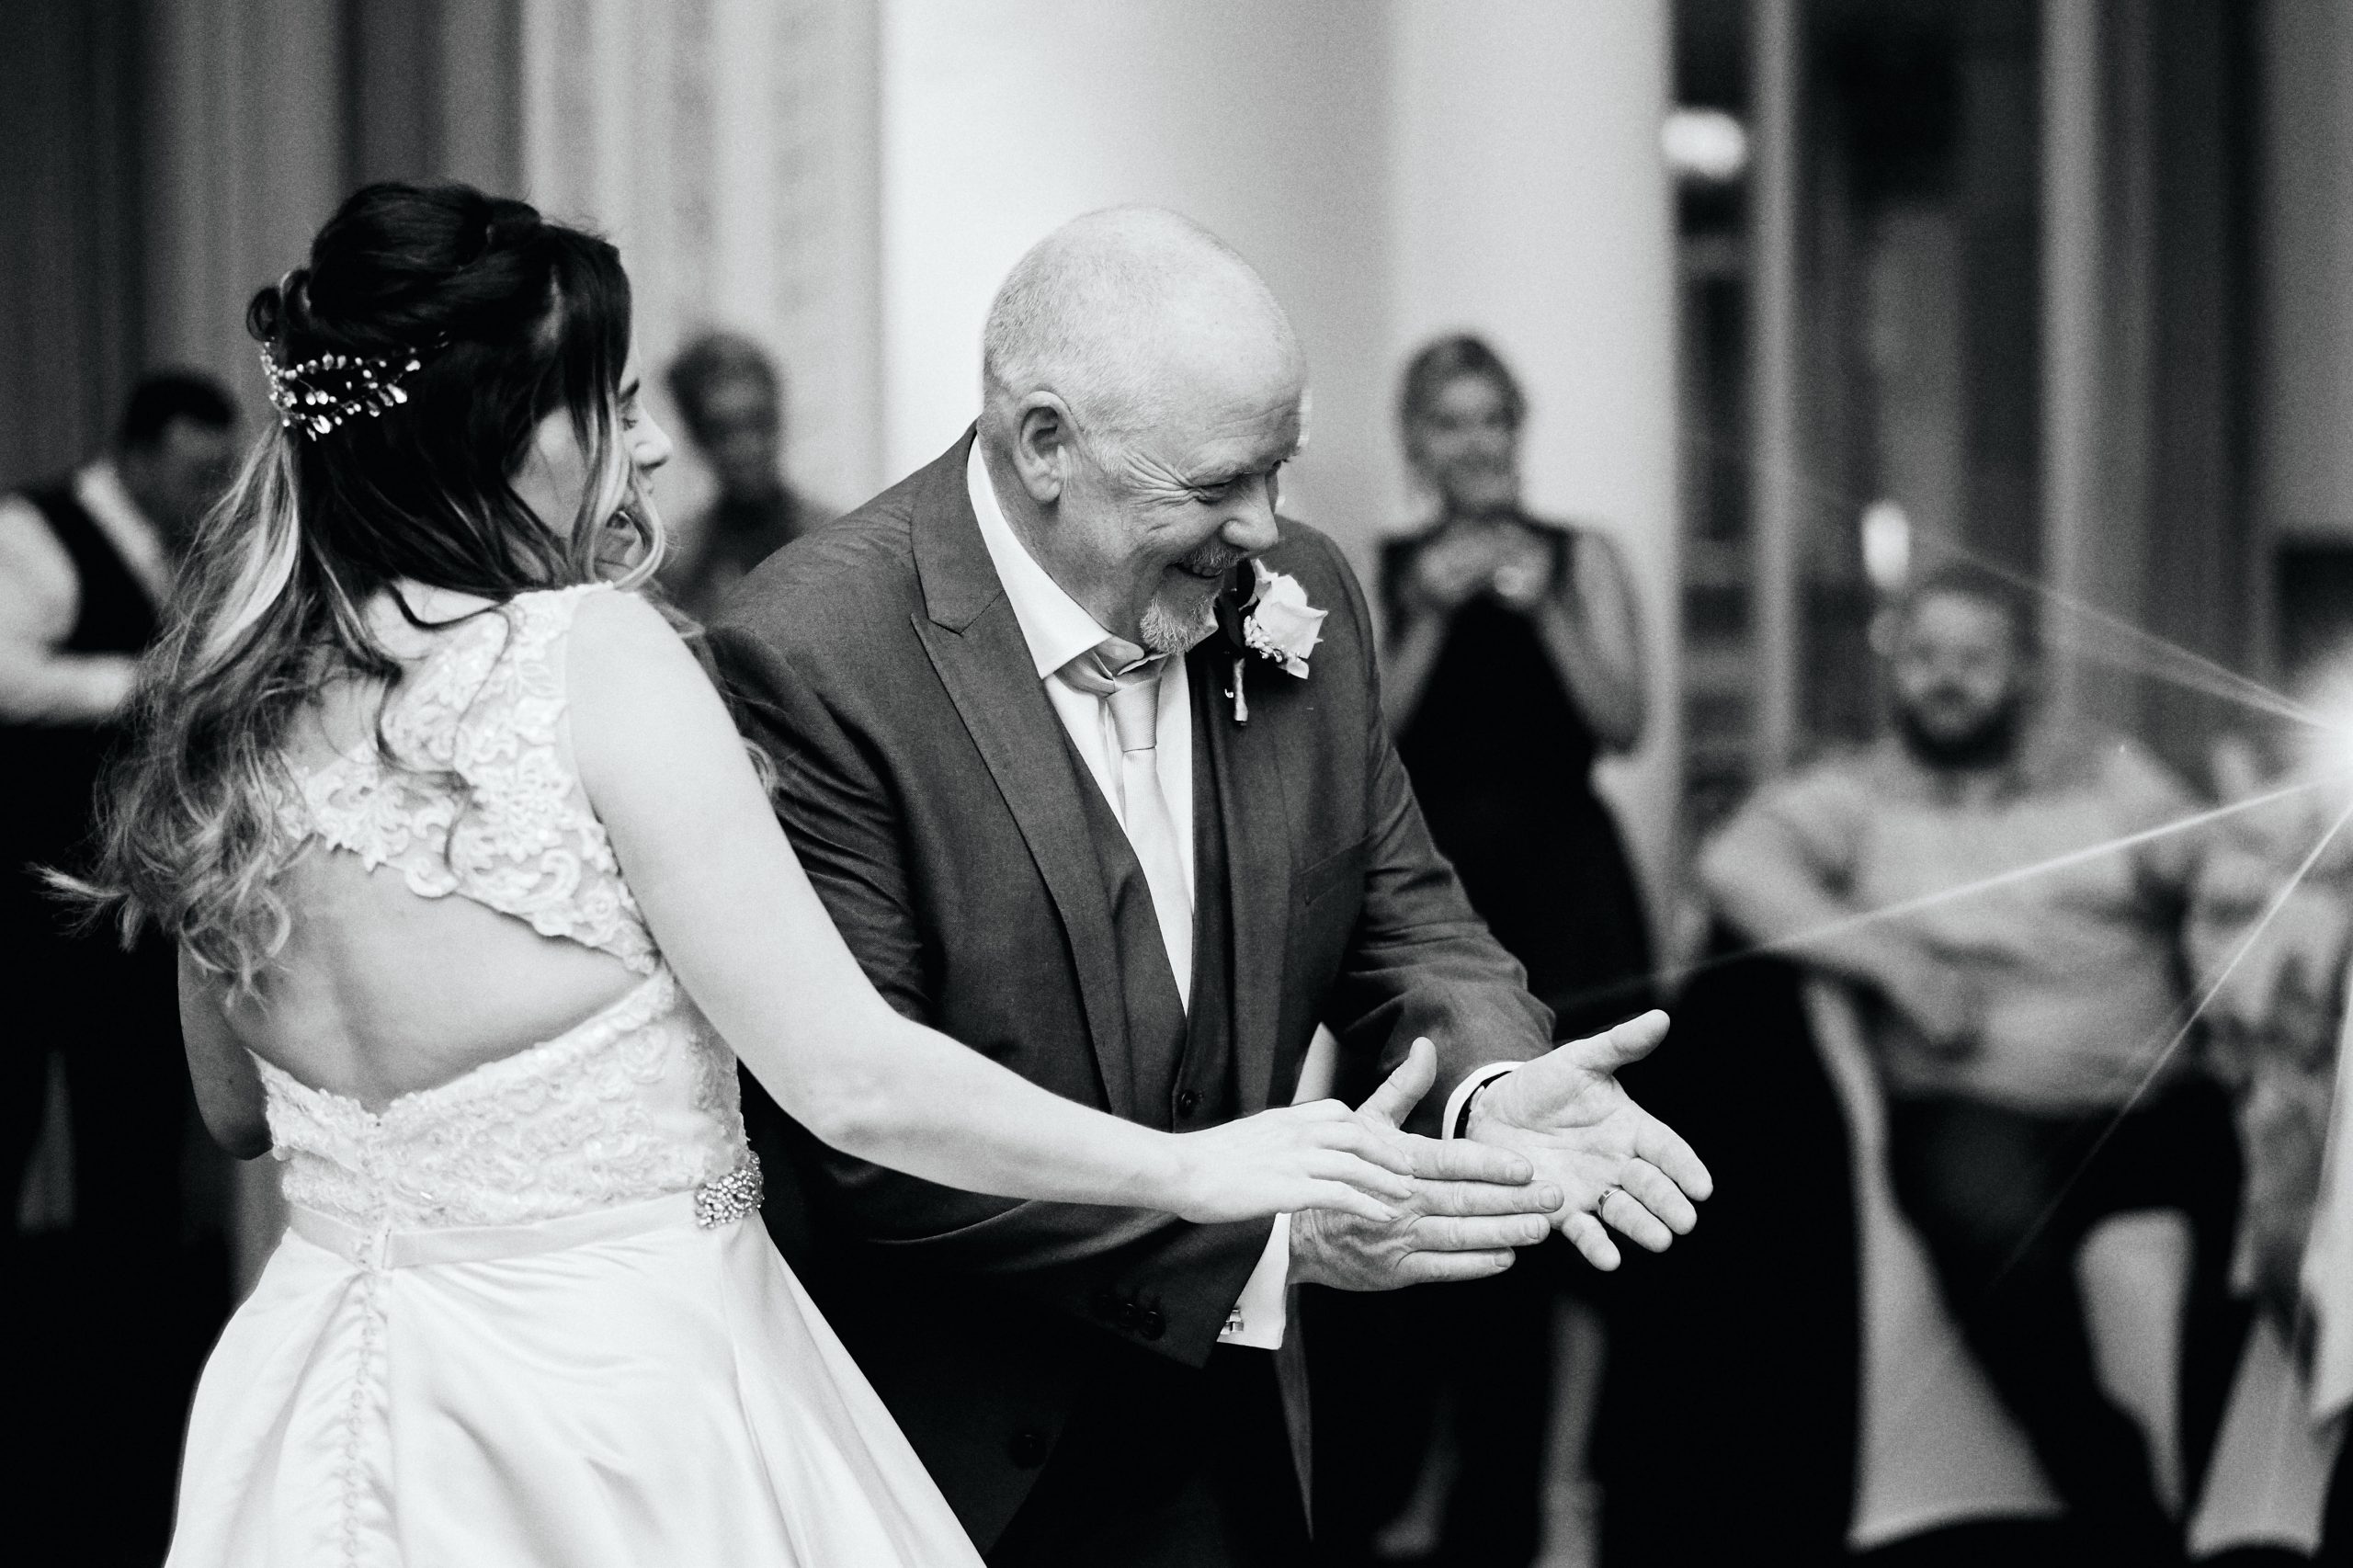
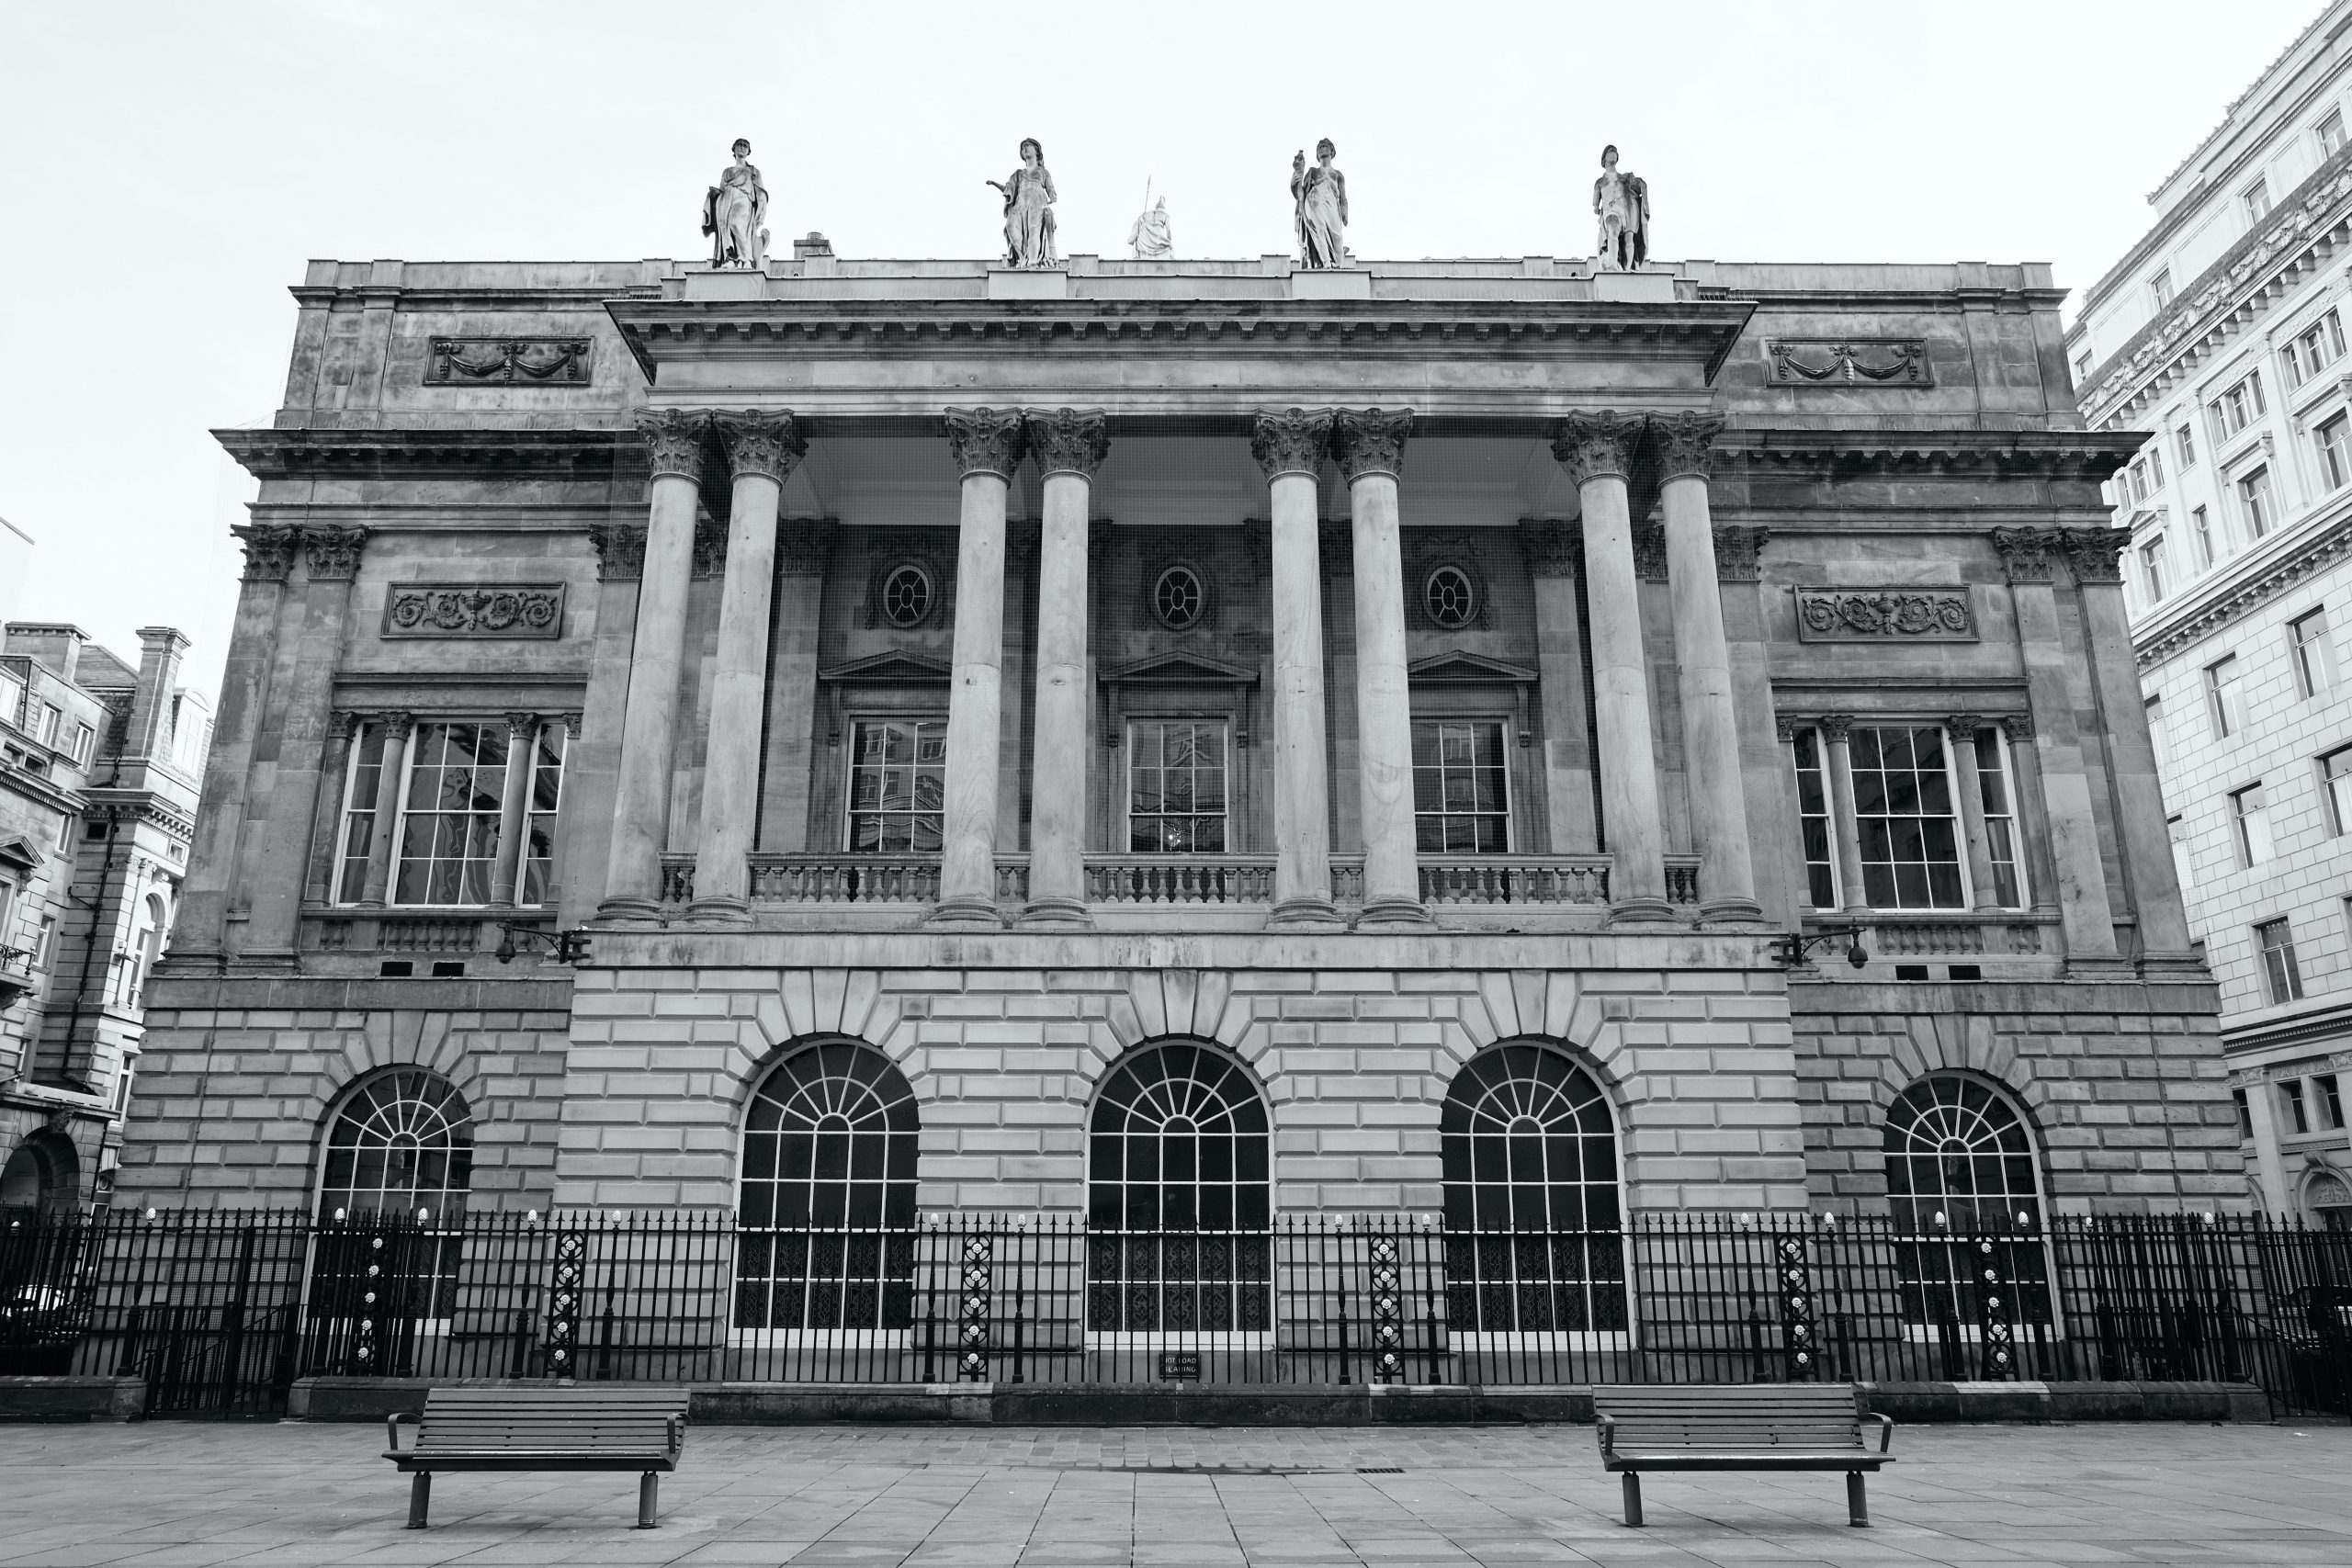
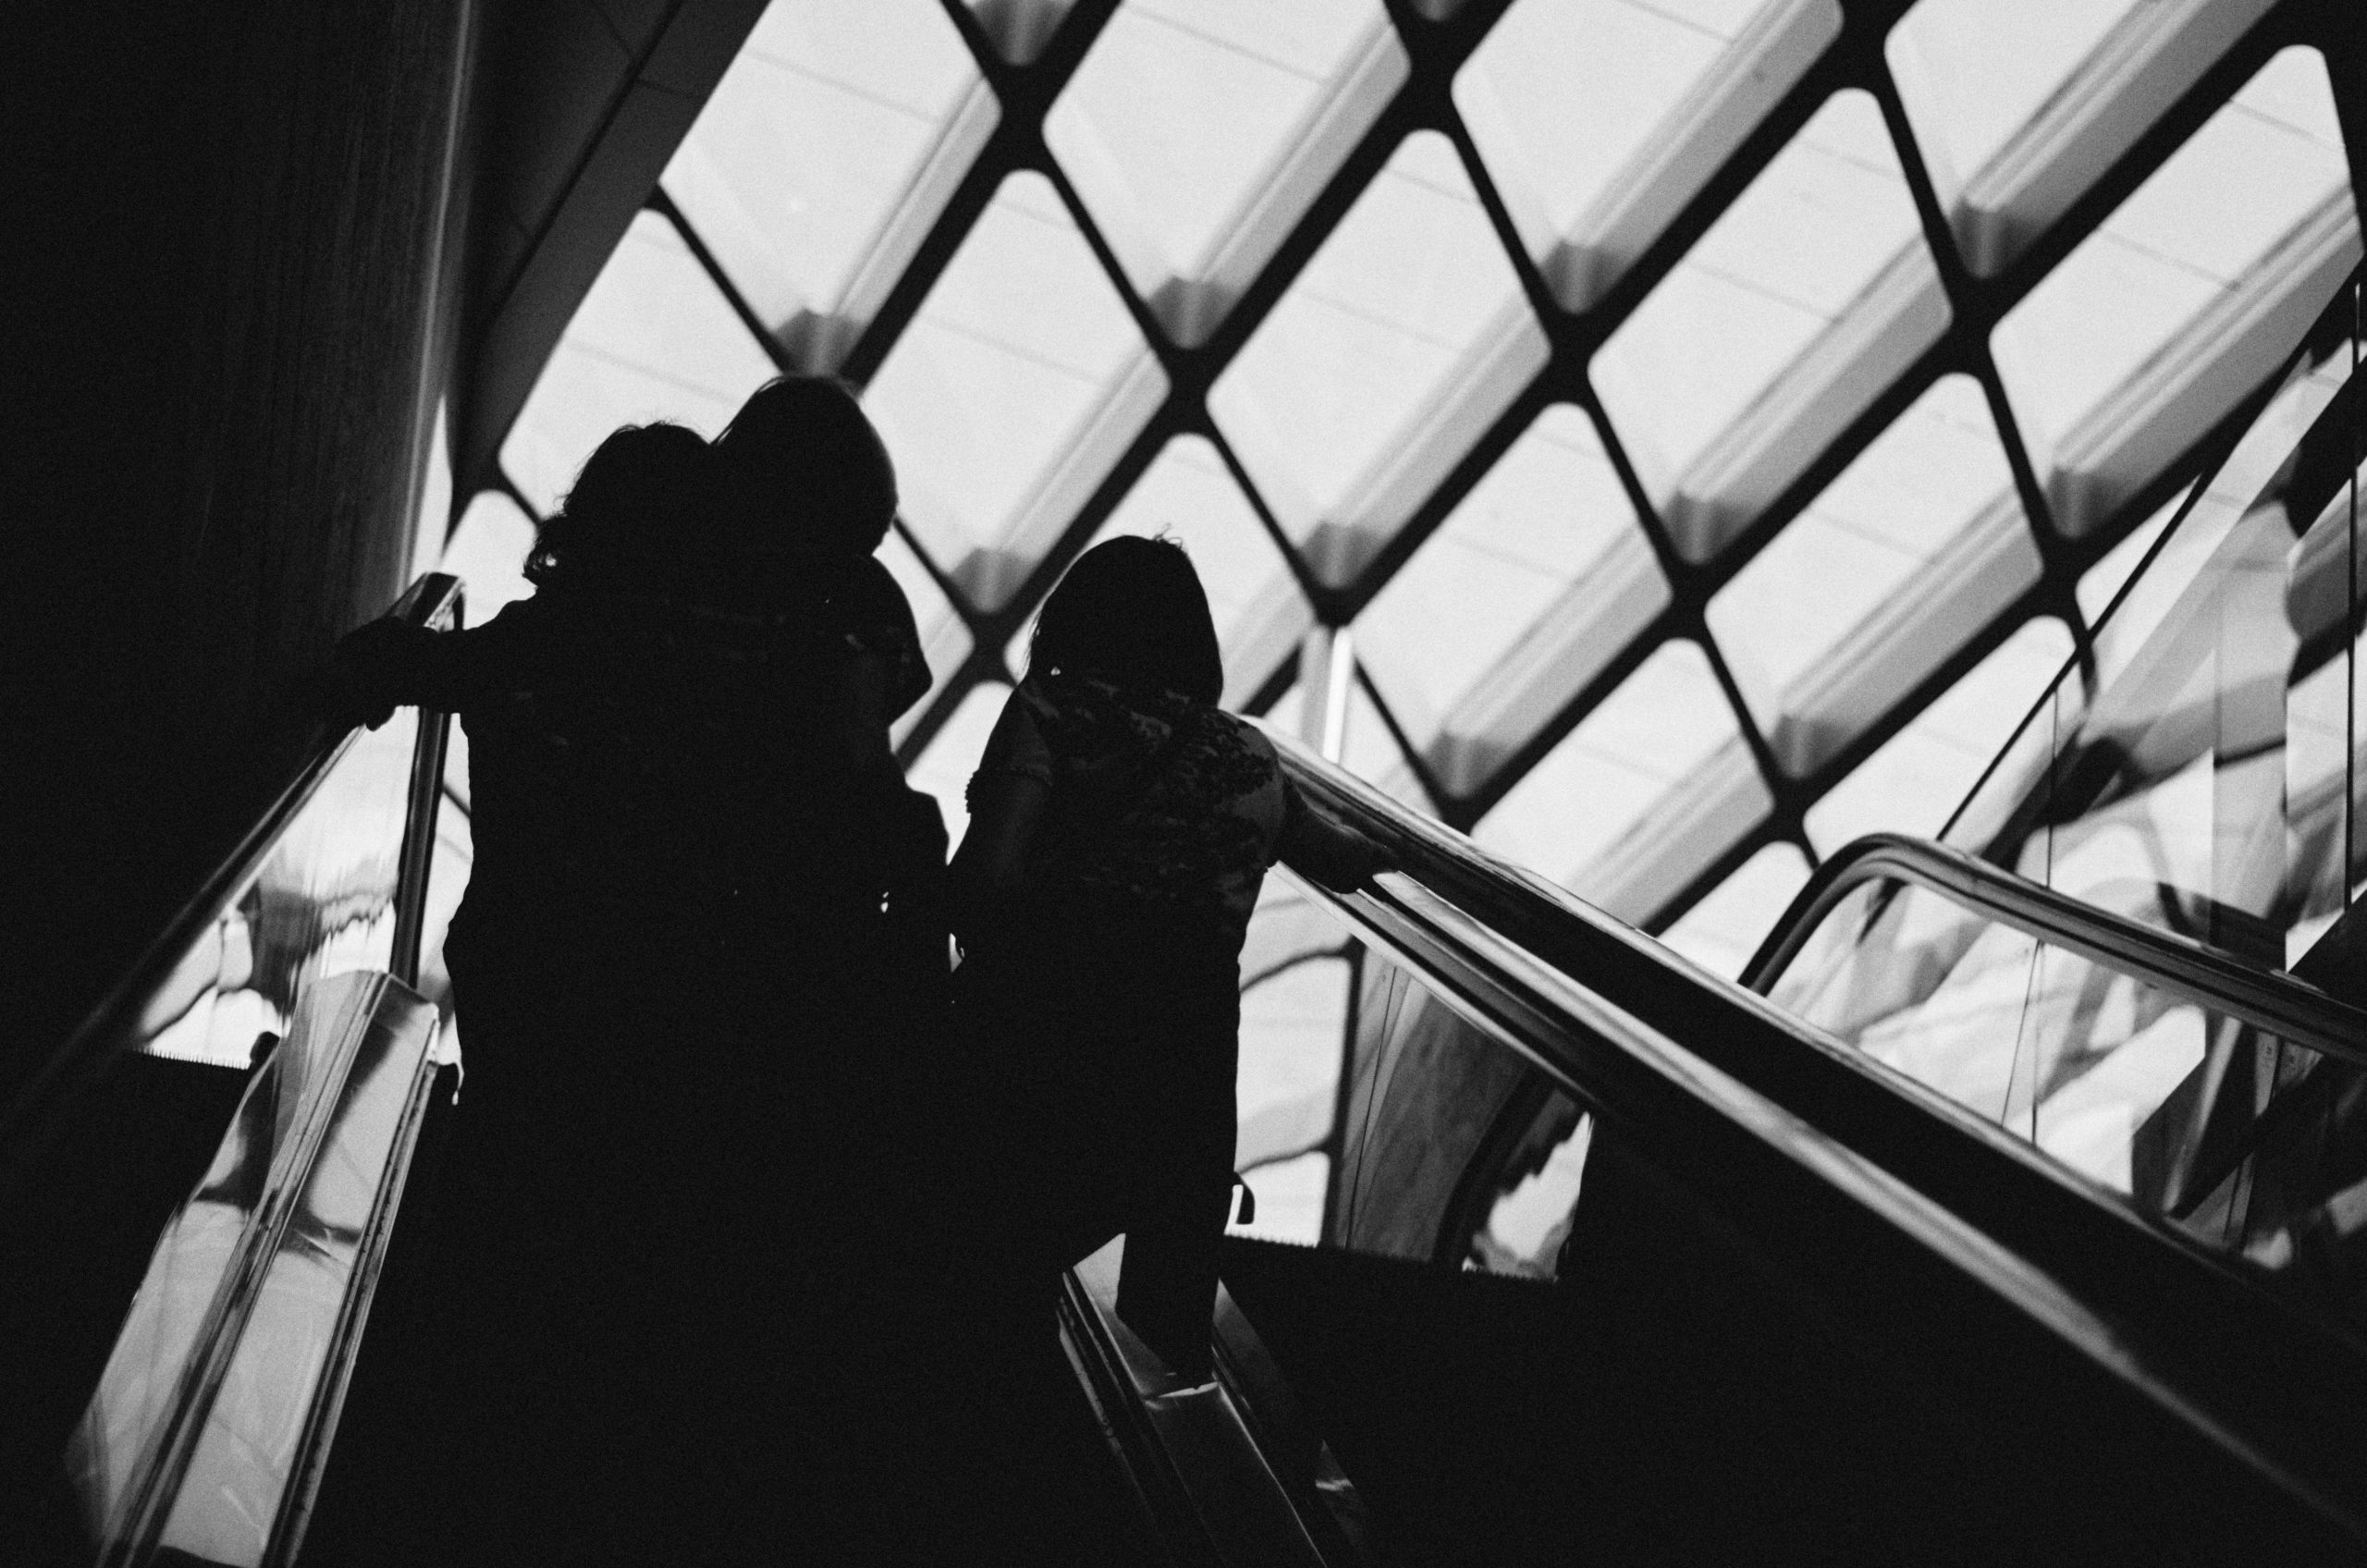
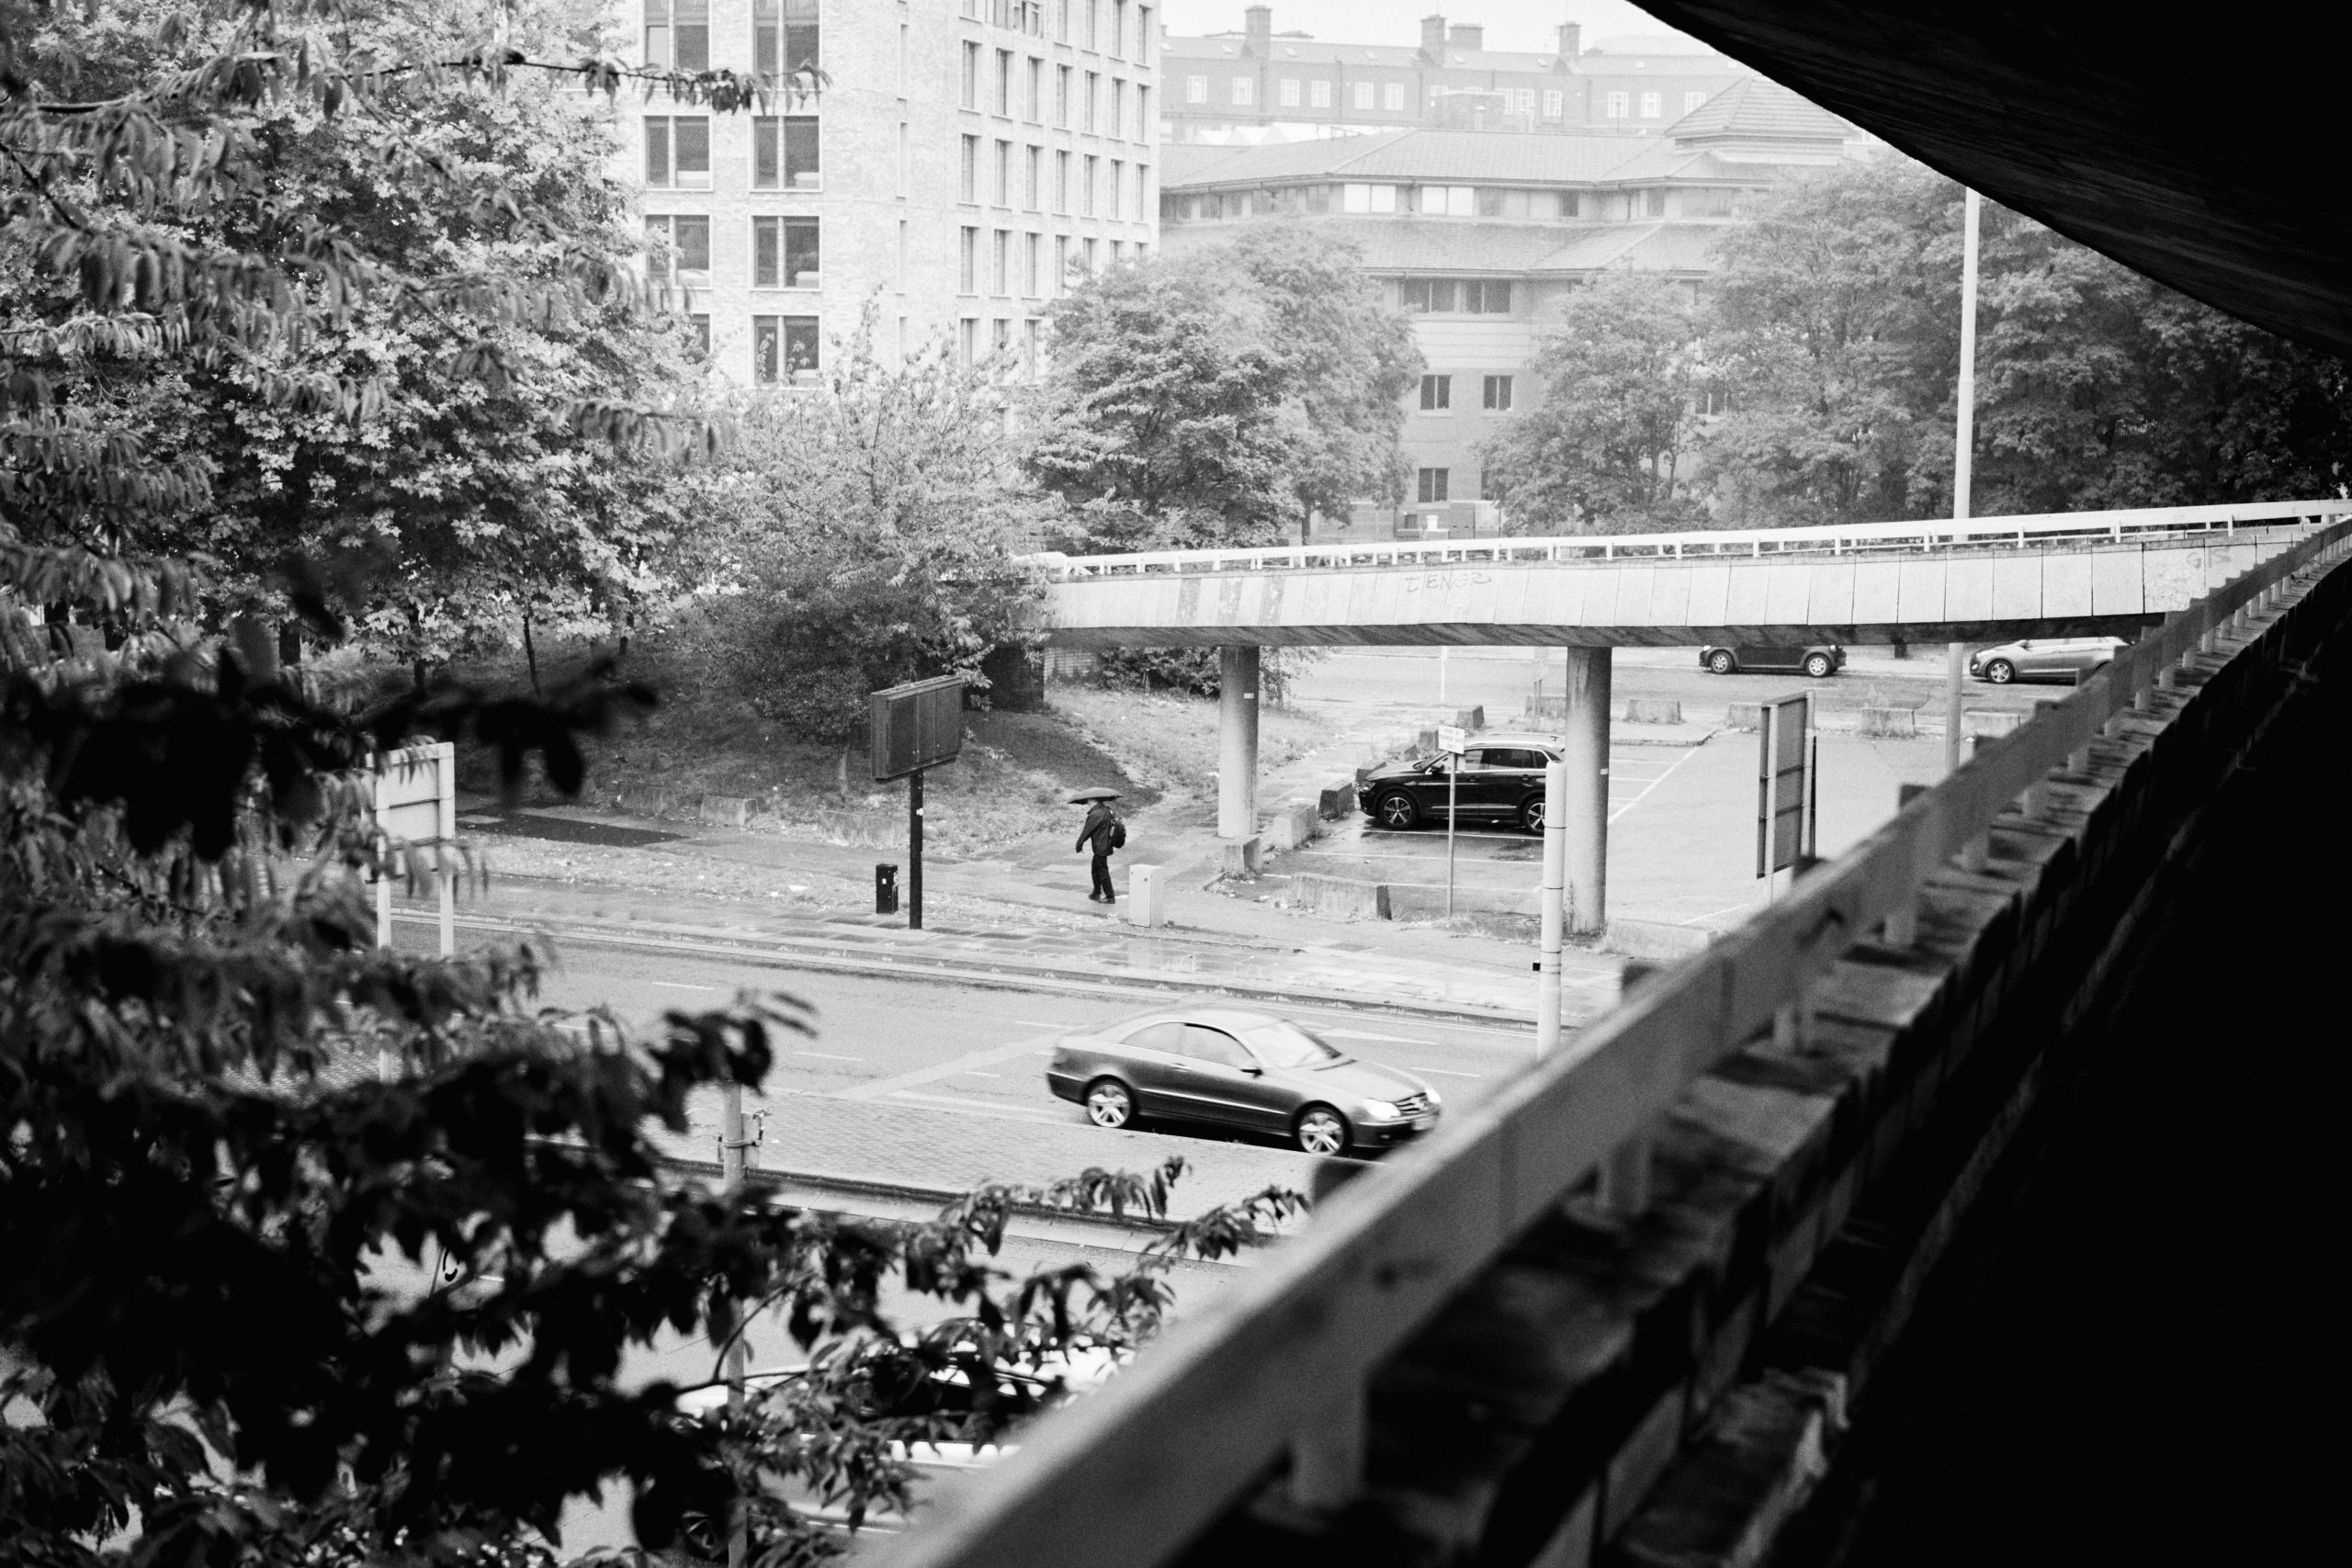
An in-depth emulation of one of the most beloved black and white film stocks, Kodak Tri-X 400. Hugely versatile with a crisp, distinctive look, it’s one of the most enduring monochrome films of all time.
This isn’t just a single preset, it’s an entire toolbox covering more than 30 individual presets as well as a variety of coloured filters and colour toning. It’s laid out in a logical and consistent way, meaning you can find the look you need without blindly clicking a bunch of presets until you hit the right one!
The different styles cover a single base look plus pushed/pulled versions, but then these are duplicated in 5 different folders. Each folder changes the ‘mojo’ of the look, with the possibilities being an authentic 35mm and medium format scan emulation with realistic grain and detail, a generic faded look with softer grain, a ‘natural’ look which blends digital sharpness with subtle grain, and a totally clean variant.
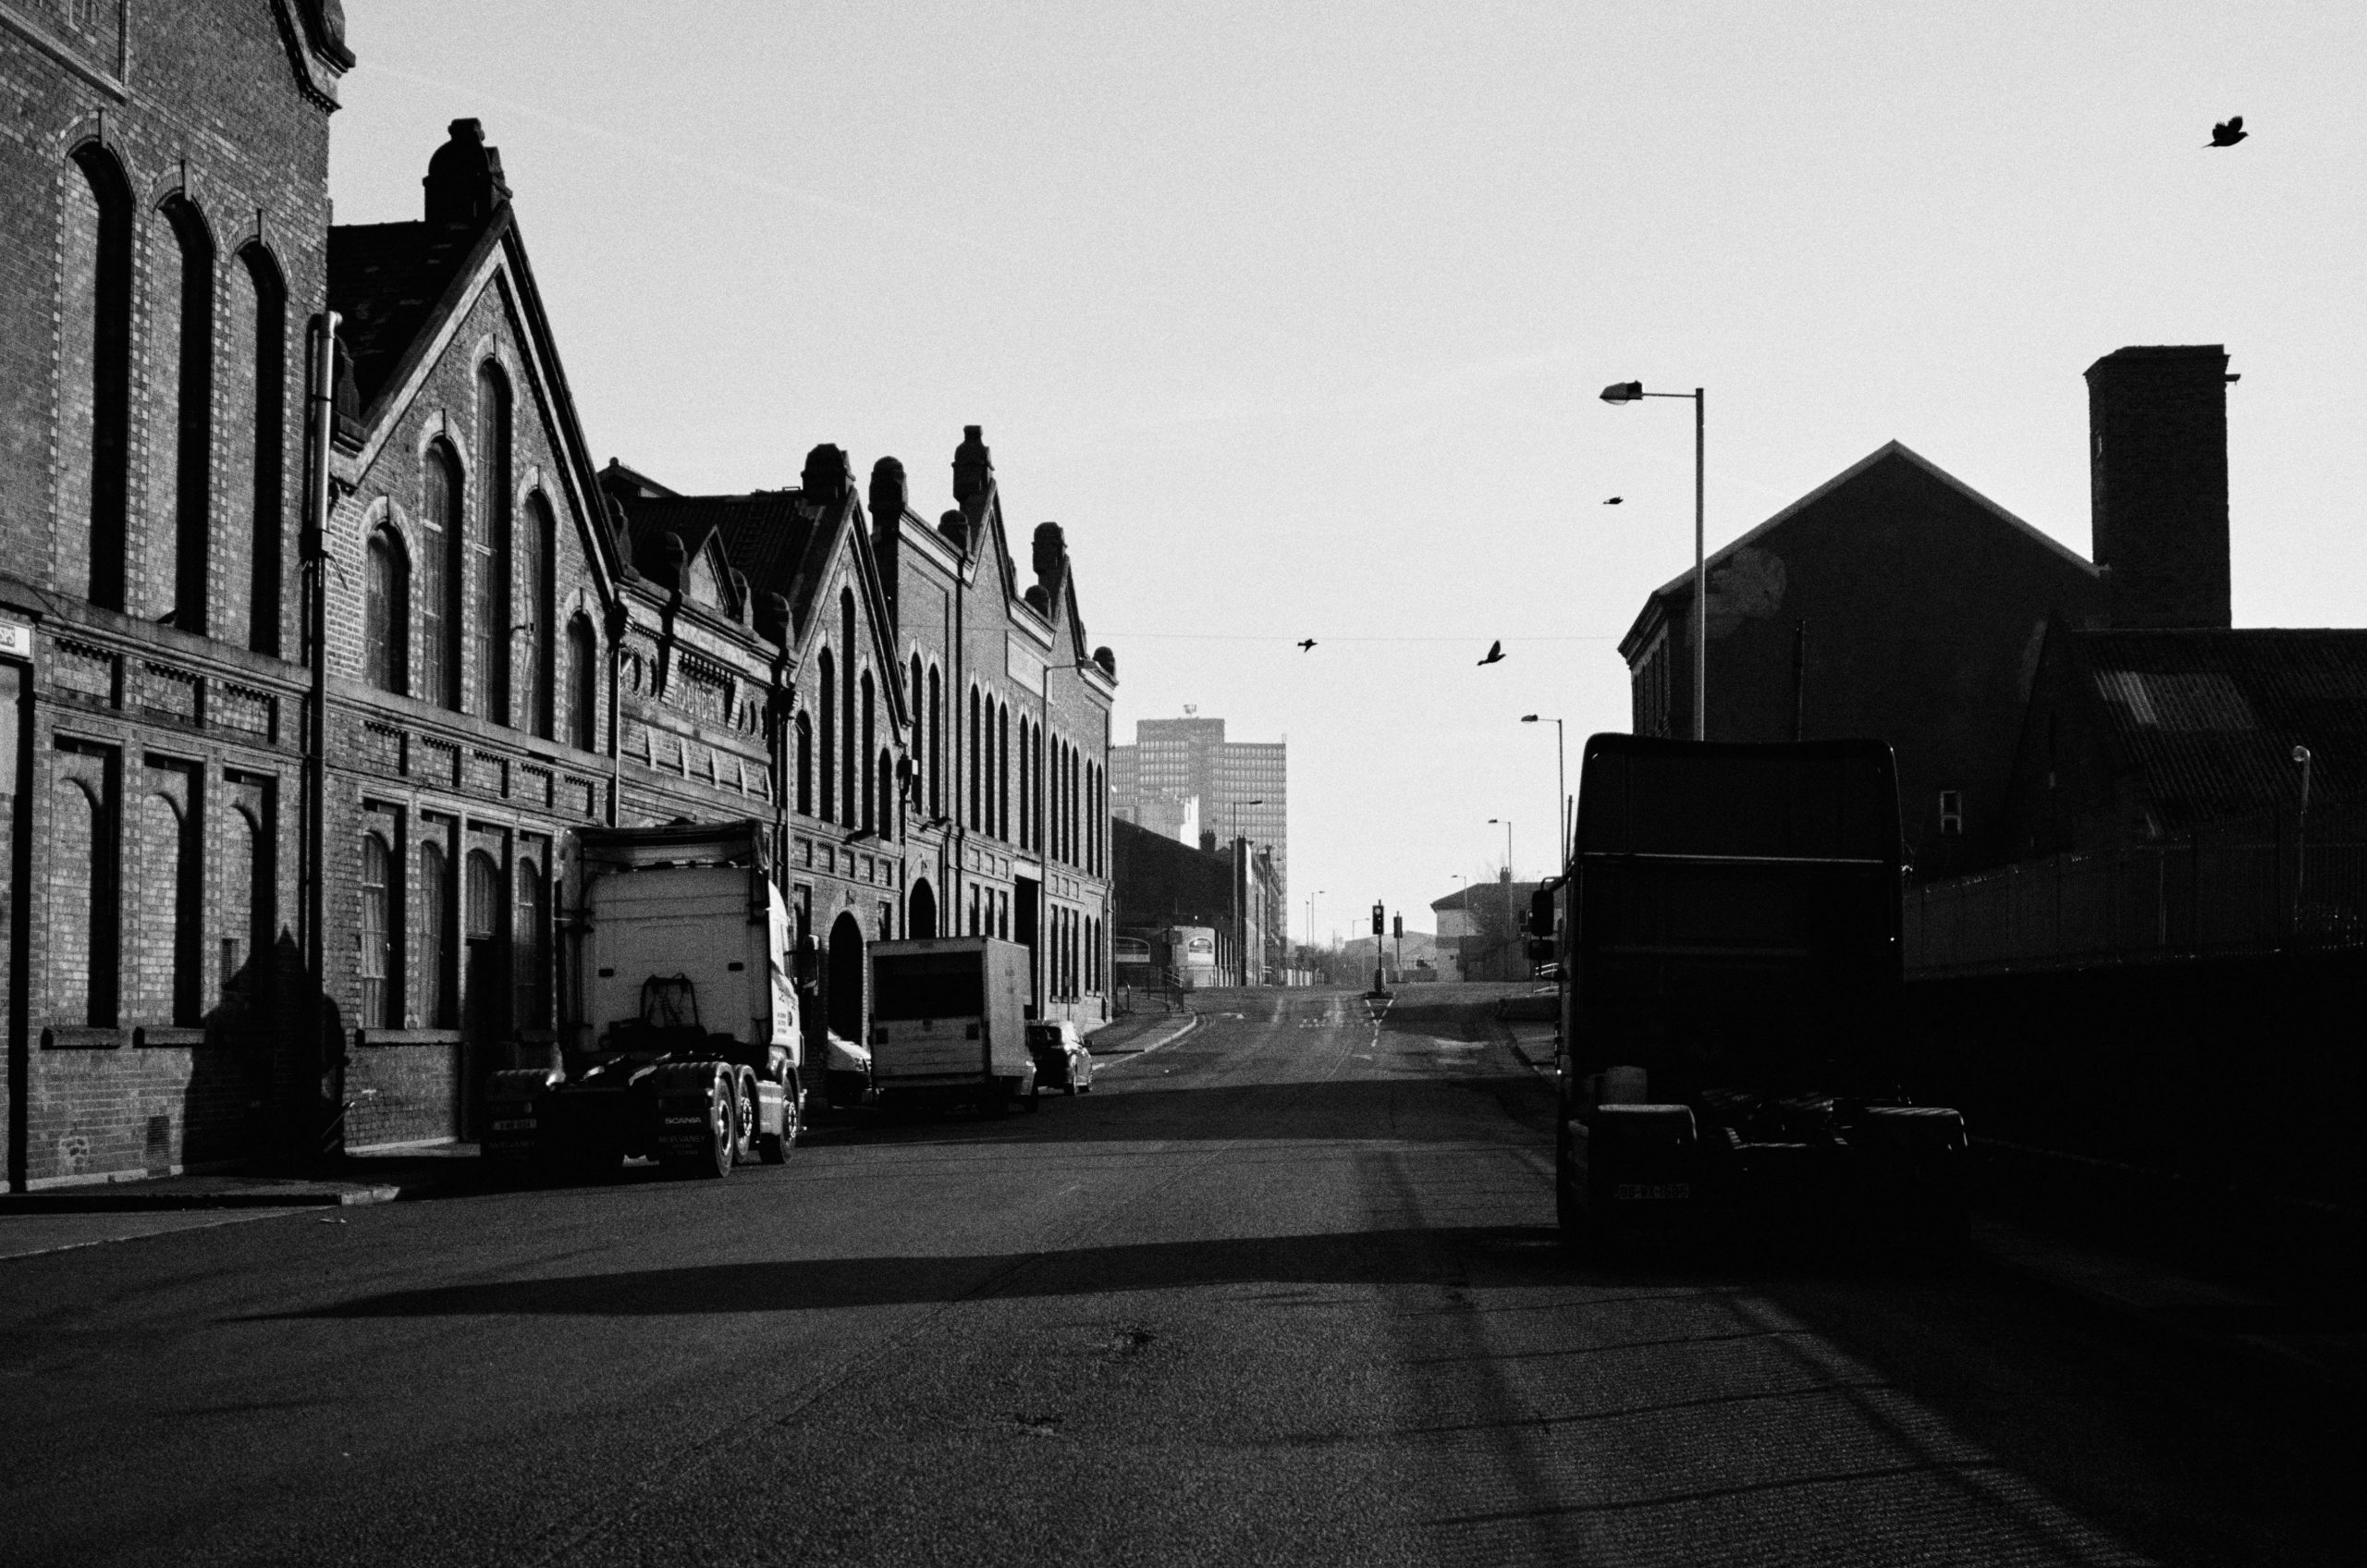
Although there are completely clean variants of all presets, a lot of the work went into creating a plausible emulation of real film scans. This doesn’t just mean realistic film grain either; part of the goal was to capture the sharpness/detail of different negative sizes (35mm has less resolution/sharpness and a coarser grain than medium format, for example). There’s even a technique to emulate halation around highlights – likely a first for film presets – to subtly capture the look of bright light scattering in the film emulsion. I’m unashamedly geeky when it comes to getting all the little details right!
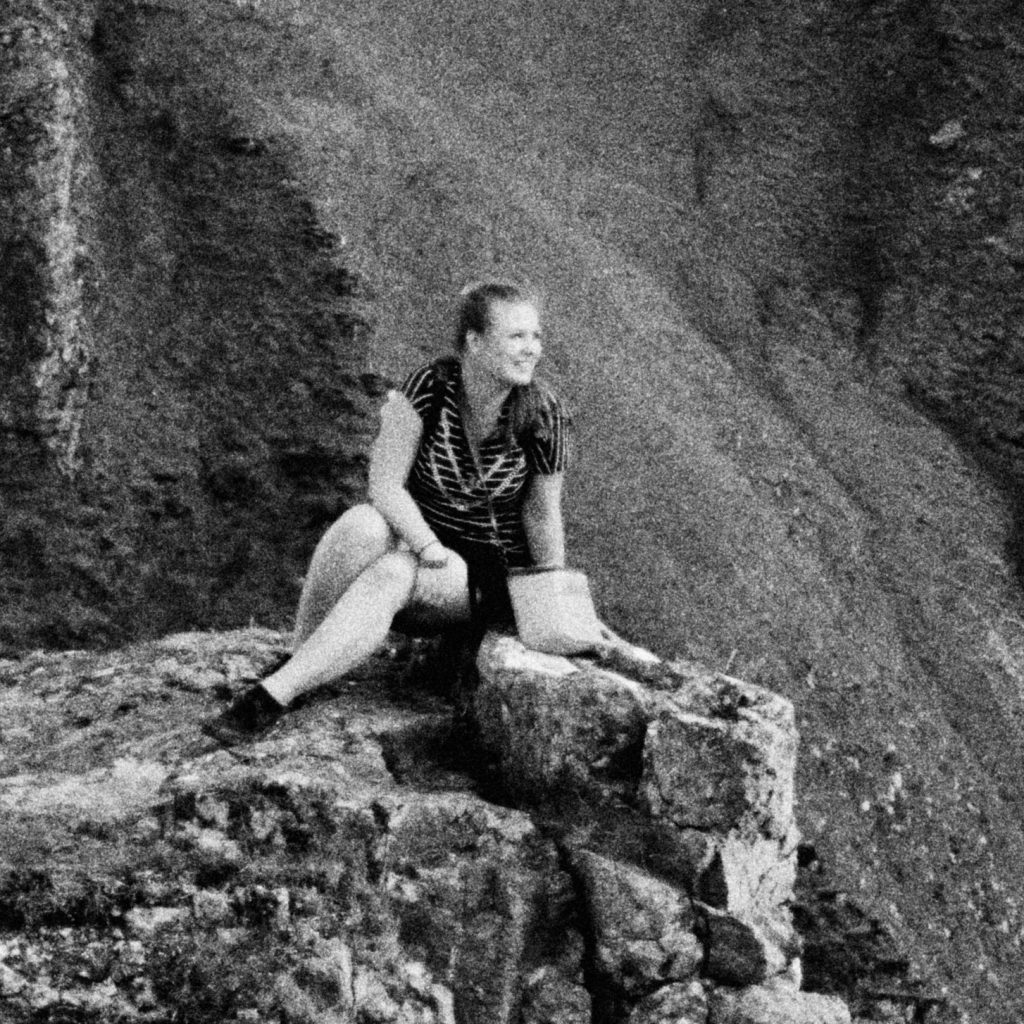
There are six basic looks, reflecting Tri-X shot at different speeds using push/pull darkroom techniques. However, these looks are repeated in five different sets of variants, grouped in folders. The basic look of each preset is similar whichever folder you pick, the variants mostly affect how ‘analog’ the images will look, ie film grain, sharpness, fading etc. Read below
There are six basic looks, reflecting Tri-X shot at different speeds using push/pull darkroom techniques. However, these looks are repeated in five different sets of variants, grouped in folders. The basic look of each preset is similar whichever folder you pick, the variants mostly affect how ‘analog’ the images will look, ie film grain, sharpness, fading etc.
We start with the fun one! These variants go the whole hog in replicating the look of scanned, 35mm negatives. You’ve got a decent amount of the famous salt-and-pepper grain and less detail is resolved, giving you something that could probably fool even a seasoned film shooter if they’re not studying it too closely…
If you still want the look of a real film scan but with more resolution and finer grain, these variants are your ideal starting point. Grain is tighter and more controlled and this makes the gradient between tones a little more subtle. To really nail the 120mm look, try cropping to a traditional medium format aspect ratio (1.35:1 for 645, square for 6×6, 1.20:1 for 6×7 etc).
The one you want for vintage looks! Similar tonality to the other two but with crushed, lifted blacks, making it reminiscent of a faded print or a poorly scanned/underexposed negative. Sometimes the crushed black thing can be a bit hipstery and overdone, but I trust you to keep it tasteful!
A perfect compromise between digital accuracy and film mojo. Tonally the same as the ‘scanned’ ones but with less emphasis on realism, so you get the same base look but with a much more subtle grain and the sharpness of digital. They’re my go-to for most things, giving you black and white conversions with a little analog edge.
Do you dislike adding grain and softness but still want the TX400 look? Not a problem. This is the same core set of styles without any of the ‘analog’ stuff.
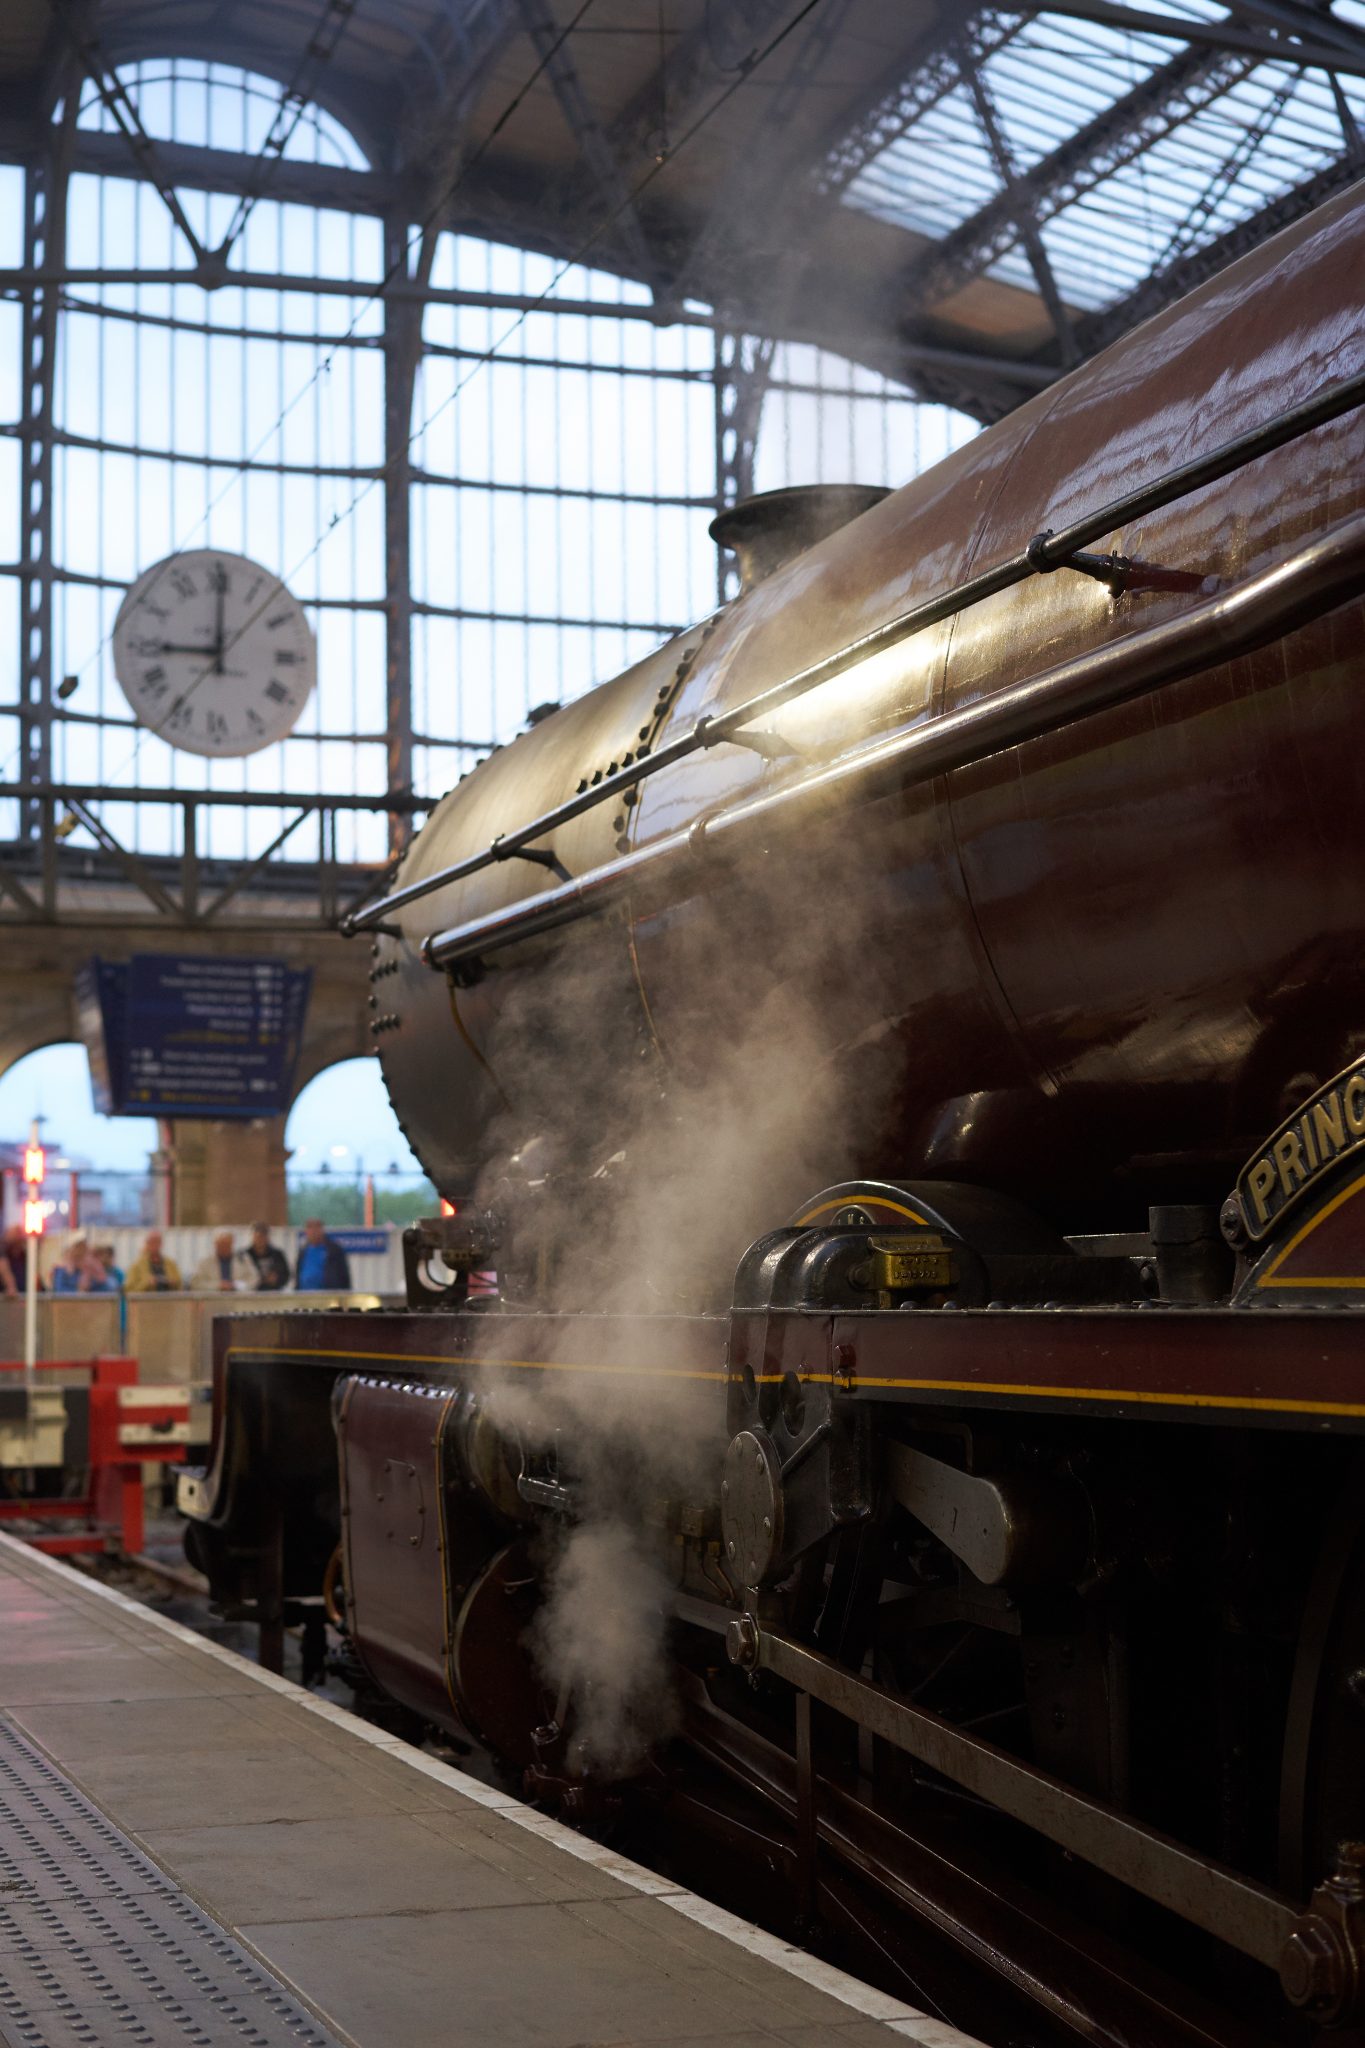
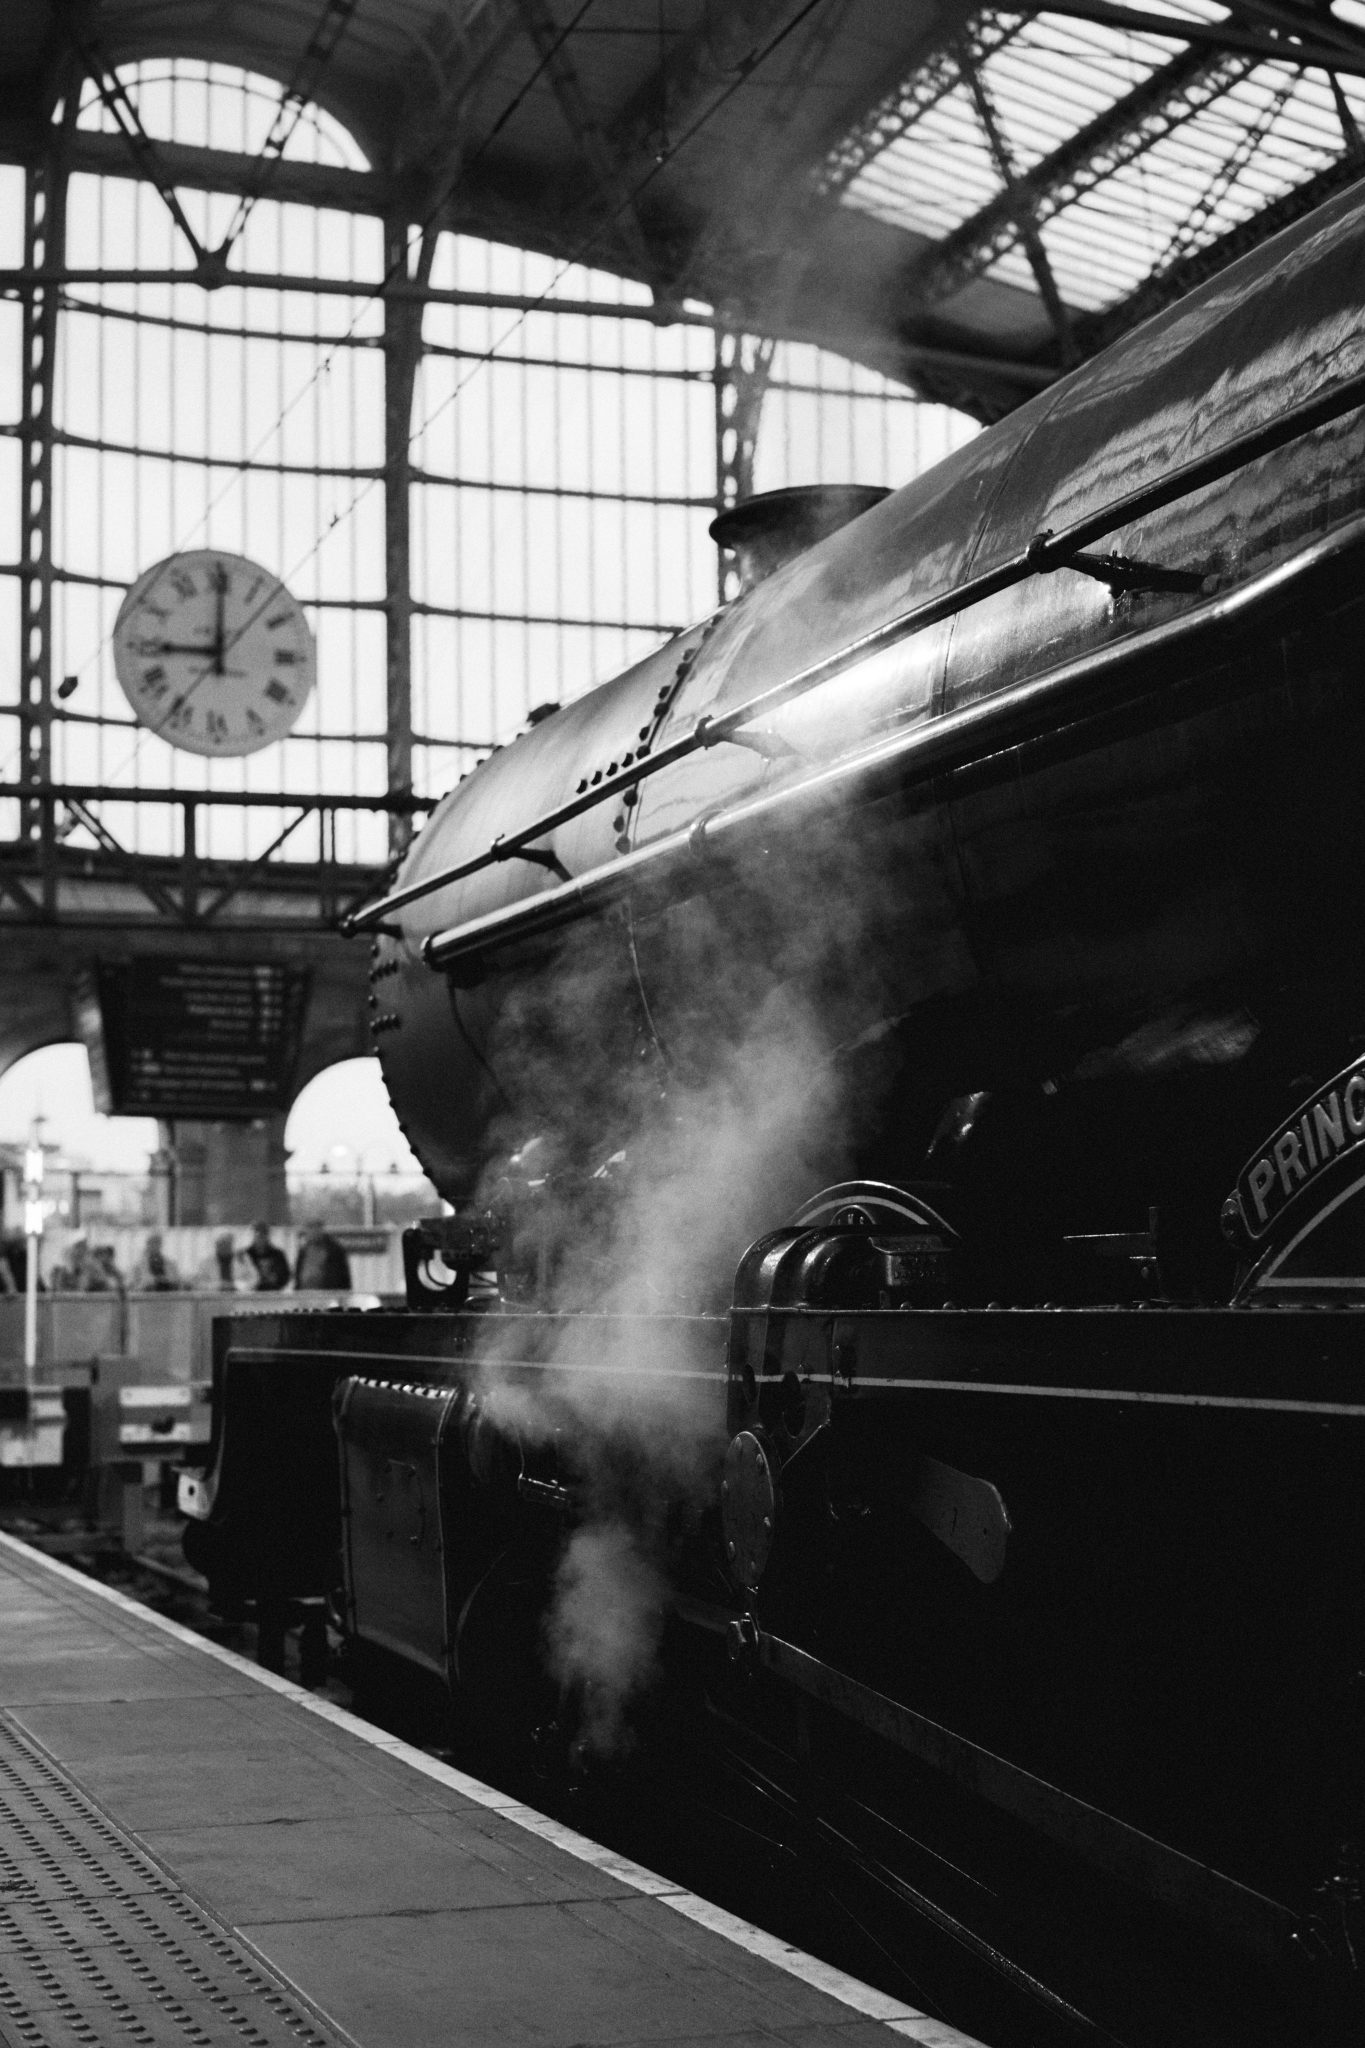 Digistock Tri-X +800 Faded Print
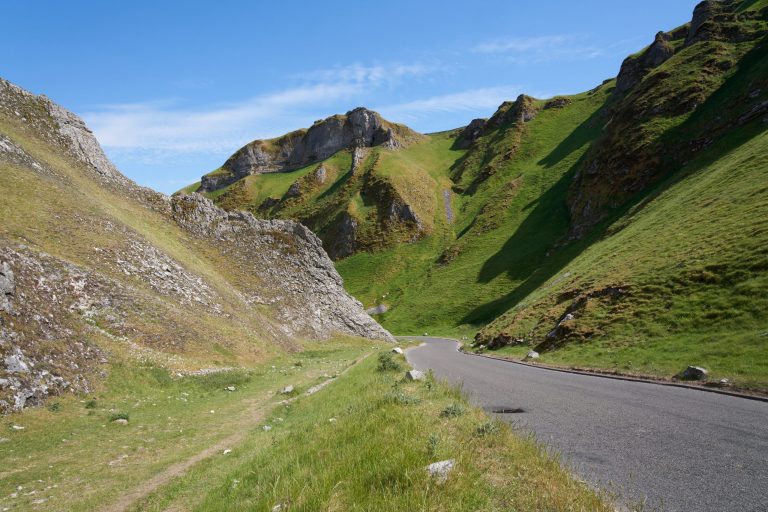
 C1 Defaults
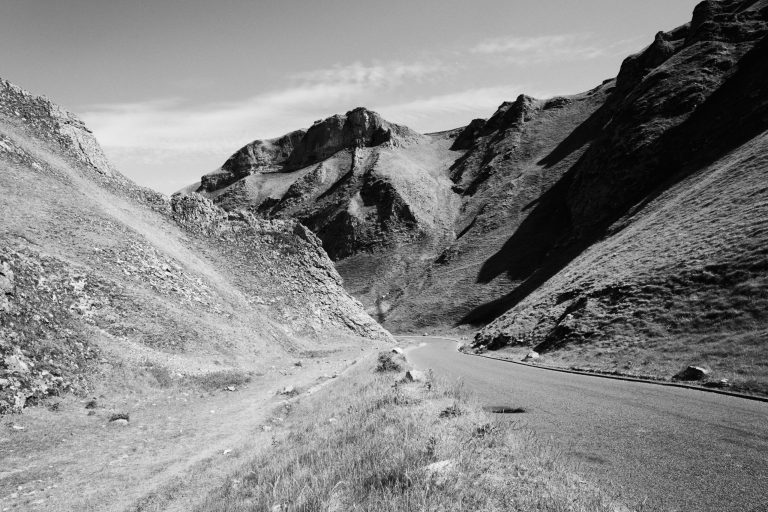
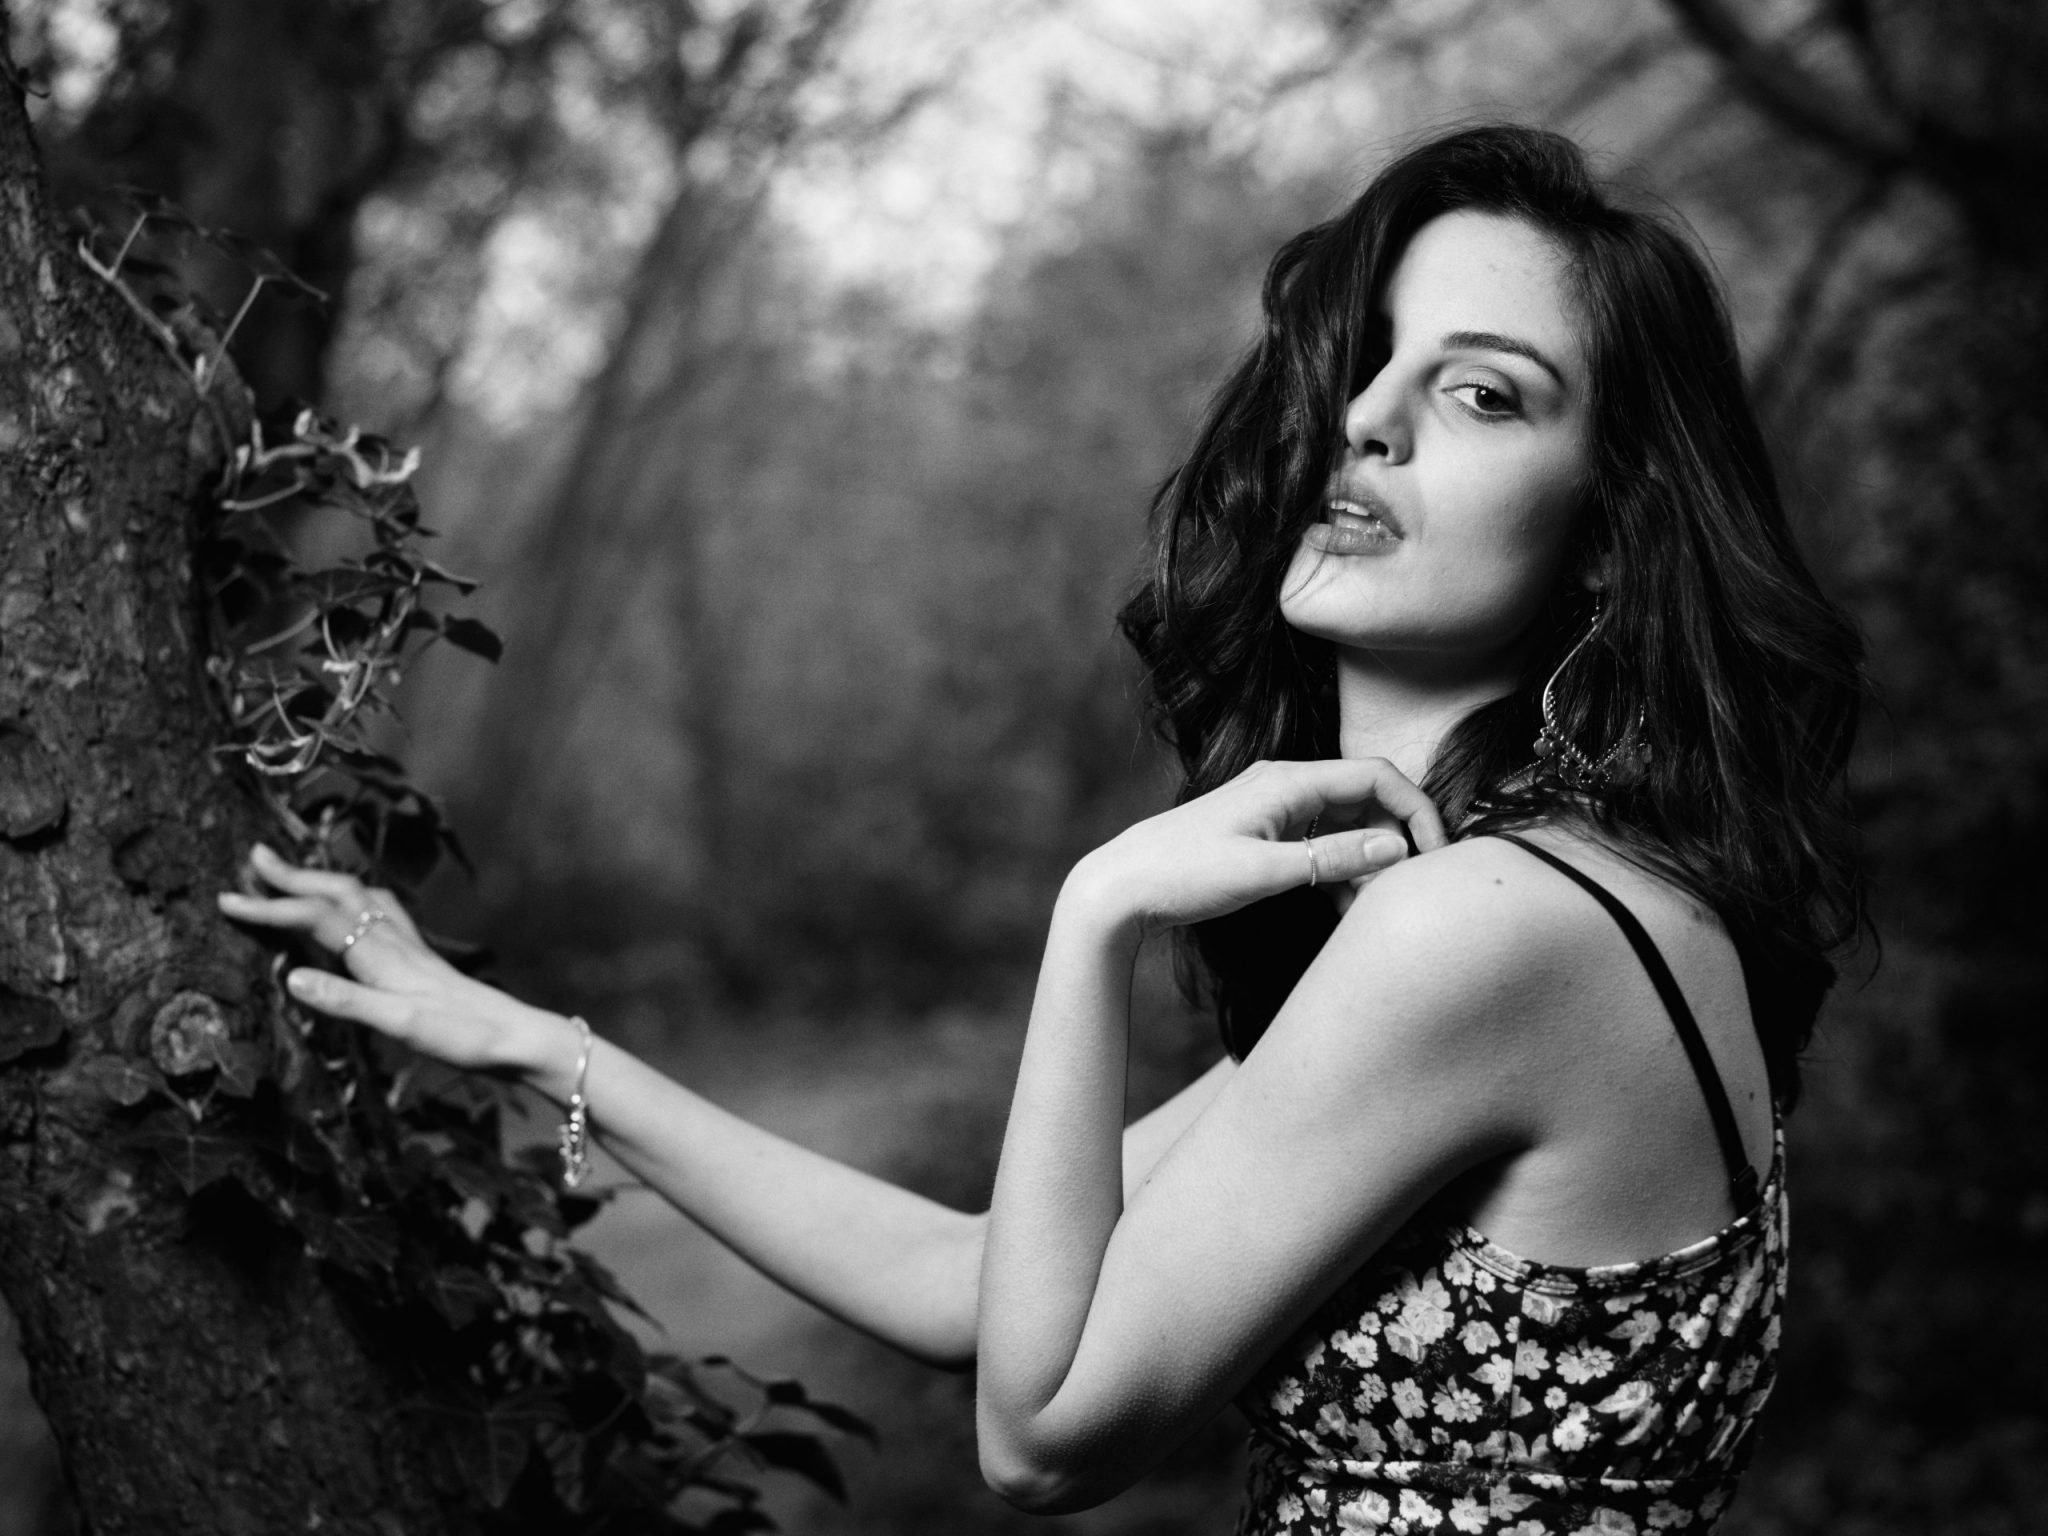 Digistock Tri-X 400 Classic 120
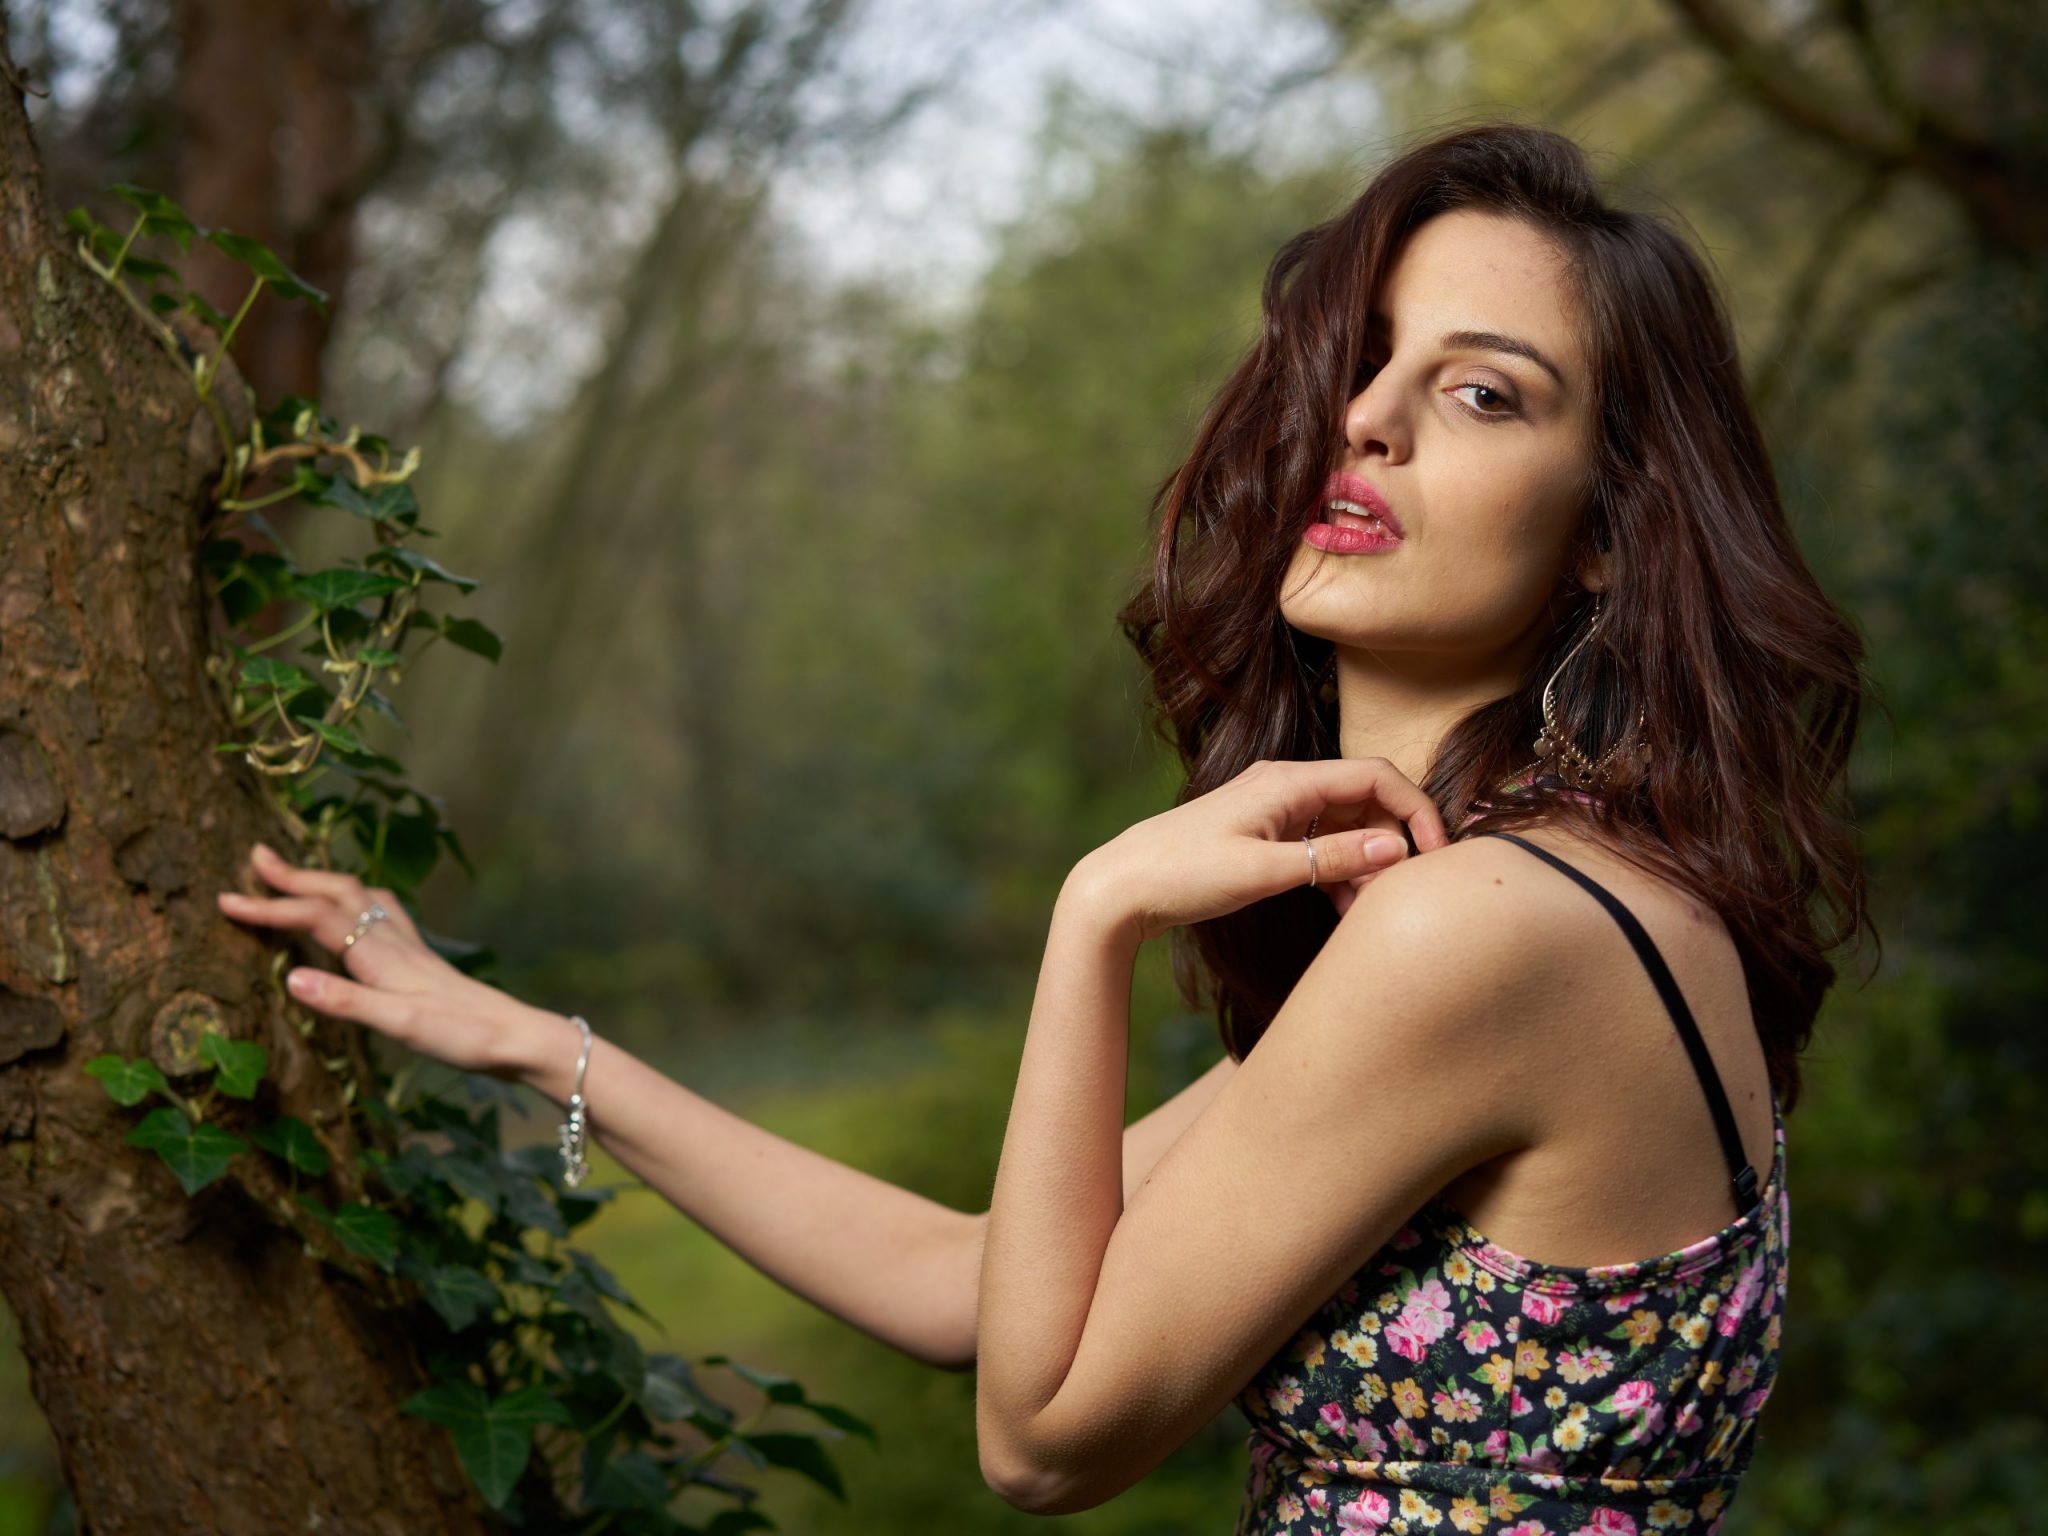 C1 Defaults
Once you’ve chosen the variant folder best suited to your work, you can choose from one of six styles representing different Tri-X looks.
Each style also has its own unique grain, softness etc.
A base look with a great balance between contrast and smooth gradation between tones. Contrast and grain is based on Rodinal development, with lots of punch. A great all-rounder.
A slightly more neutral base look approximating a typical Tri-X scan. Good for busier scenes or ones with a lot of dynamic range, where the Classic profile is a touch too intense.
Underexposed by a stop and then ‘pushed’ puring developing. This increases contrast by raising bright areas of the film during development, but at the cost of more grain. Great for punchy portraits.
Pushed by two stops to give a very contrasty image with strong grain and less subtlety in grey tones. Really effective for concert photography and street work, and anything else with bold composition.
Lots of contrast and grain here, and a noticeable loss of shadow detail as the film is pushed up to very high ISO levels. Gives an authentic feel to low-light/night photos!
Overexposed by one stop to give the equivalent of an ISO200 film. ‘Pulling’ is a less popular technique for Tri-X, but sometimes handy for high-contrast scenes as it offers a gentler, less contrasty tonality.
Once you’ve found the basic look you need, you can further tweak it with a selection of colour filters,
There’s also a selection of toning techniques, from subtle warmtone/cooltone paper to chemical tints like sepia and selenium. These are full layer-compatible so you can adjust the opacity as needed.
I’ve developed a technique for emulating halation in the film (subtle bloom around bright light sources), but Capture One doesn’t yet have the means to make this a simple single-click preset. However, I’ve included a preset with the adjustments, which needs to be added to a luma-masked layer to work effectively. This is explained in the manual. Once you’ve done this on one image, it can be copied to any others in your catalog, so you won’t have to do it manually for every single image. It’s fairly subtle but I think it makes a difference.
These 5 presets adjust the colour response to emulate the use of a tinted filter over the lens during shooting. These alter the colour response of the film; for example an orange filter will make skin tones brighter and blue skies darker.
For best results use these after applying your main preset.
A selection of toning techniques, from subtle warmtone/cooltone paper to chemical tints like sepia and selenium. These are fully layer-compatible styles so you can add them over a current edit and adjust the opacity as needed.
I’ve developed a technique for emulating halation in the film (subtle bloom around bright light sources), but Capture One doesn’t yet have the means to make this a simple single-click preset. However, I’ve included a preset with the adjustments, which needs to be added to a luma-masked layer to work effectively. This is explained in the manual.
Once you’ve done this on one image, it can be copied to any others in your catalog, so you won’t have to do it manually for every single image. It’s fairly subtle but I think it makes a difference.
 Digistock Tri-X 400 120 (Yellow Filter)
 C1 Defaults
 Digistock Tri-X +3200 Selenium (Halation)
 C1 Defaults
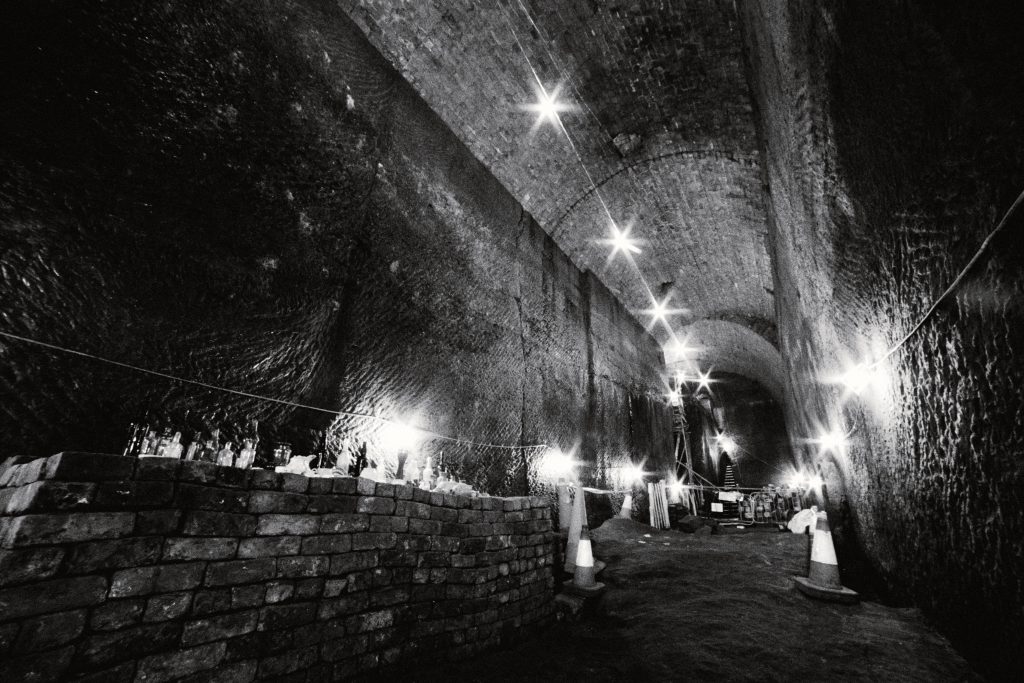
Of course, not every Kodachrome slide has been stored in a nice cool environment and scanned with top quality equipment! So here’s the section where we mess things up a bit, with stylised, vintagey filters.
These are easy to overuse and abuse, but if you dial in the opacity right you can add a convincing vintage look to shots. Especially effective on source images which are dark/underexposed to begin with. These aren’t just color overlays; there are shifts in the colours and curves to really give the feel of the film aging.
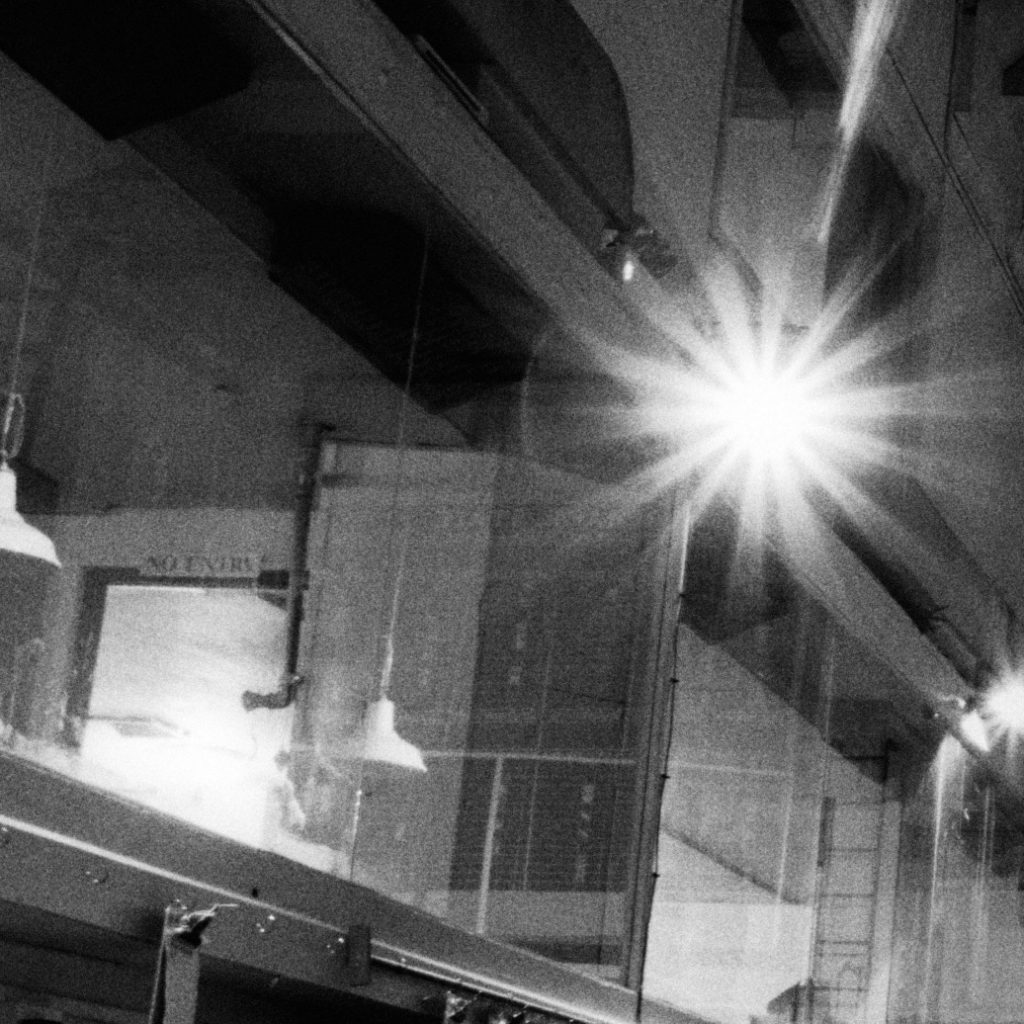 Halation
 No Halation
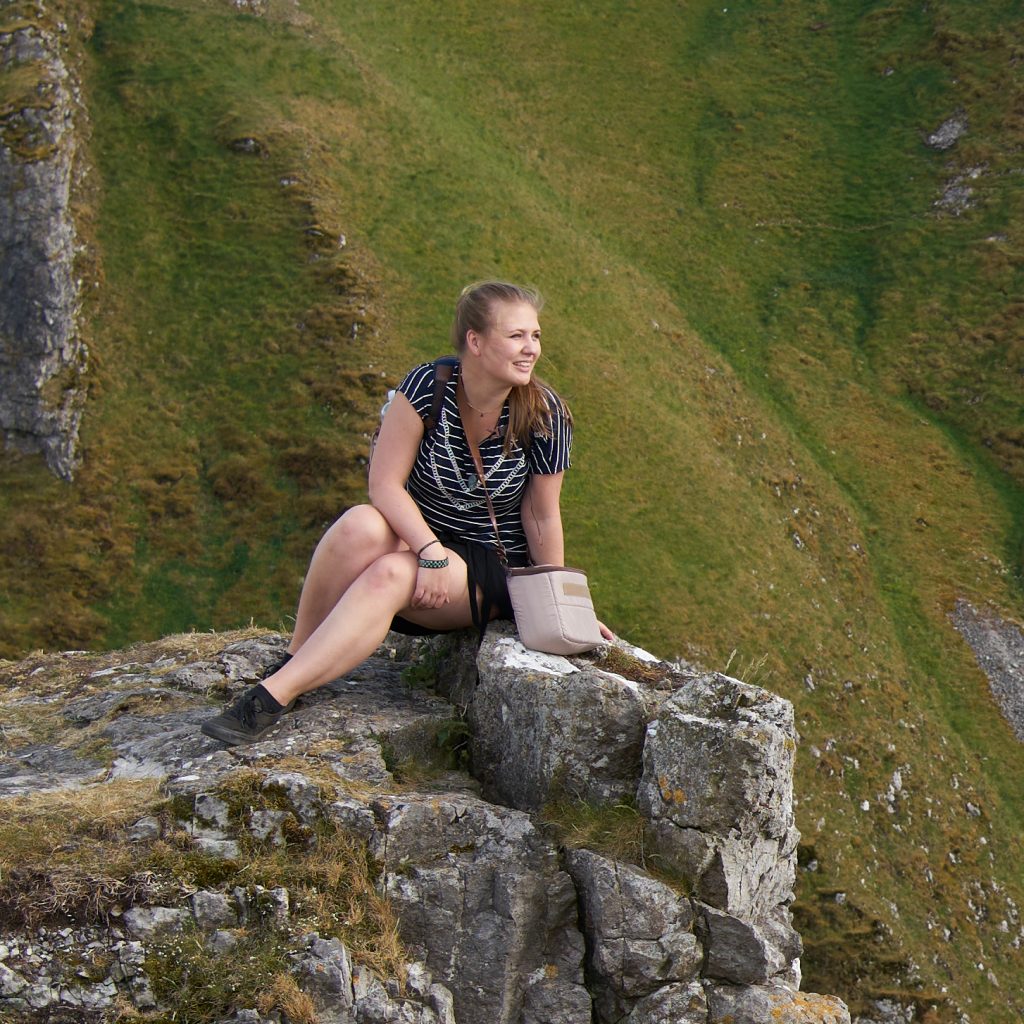
We’ve squeezed everything we can out of the Capture One engine to recreate the look of a real film scan with exceptional subtlety (along with less extreme versions).
Here’s some close-ups showing the way we’ve combined C1’s superb grain emulation with softening of details and our unique halation process to create images you’ll find almost indistinguishable from real film scans.
 Digistock Tri-X 35mm
 C1 Default
Copyright © 2020 Kyle May Photography. All rights reserved.
‘Ektar’, ‘Kodachrome’, ‘Portra’, ‘Tri-X’, ‘Kodak’, ‘Fuji’ and other trademarks feature to help illustrate customers understand our products’ intended uses, and do not represent an endorsement or licensed product.